Nothing oozes more pleasure than being able to craft your own whiskey. You can play around with different grains and techniques to produce a top-shelf drop you and your friends will be proud of.
But, making whiskey from scratch can seem complicated – especially if you’ve never dipped your toes in distilling alcohol.
This is where this post comes in.
We’ll give you a step-by-step guide on how to make a good bottle of whiskey from selecting the grains right down to aging your spirit. We’ll also give you a breakdown of the different kinds of whiskeys and the key elements that make each of them unique.
So, without further ado, here’s how to make whiskey.
Table of Contents
How To Make Whiskey At Home?
Whiskey is a distilled alcoholic beverage made from fermented grains aged in wood casks. The grains used can be anything from barley, corn, rye, or wheat. They are often cracked open to release sugars that aid in the process of fermentation.
To make whiskey, first malted barley must be mashed to extract its sugars which is then fermented into a crude beer. That beer is then distilled usually two or three times until the resulting spirit is a clear in color and around 60% ABV. This is put in barrels to be in contact with toasted or charred oak to age for at least 6 months before being ready to be bottled and consumed

What Is Whiskey Made From?
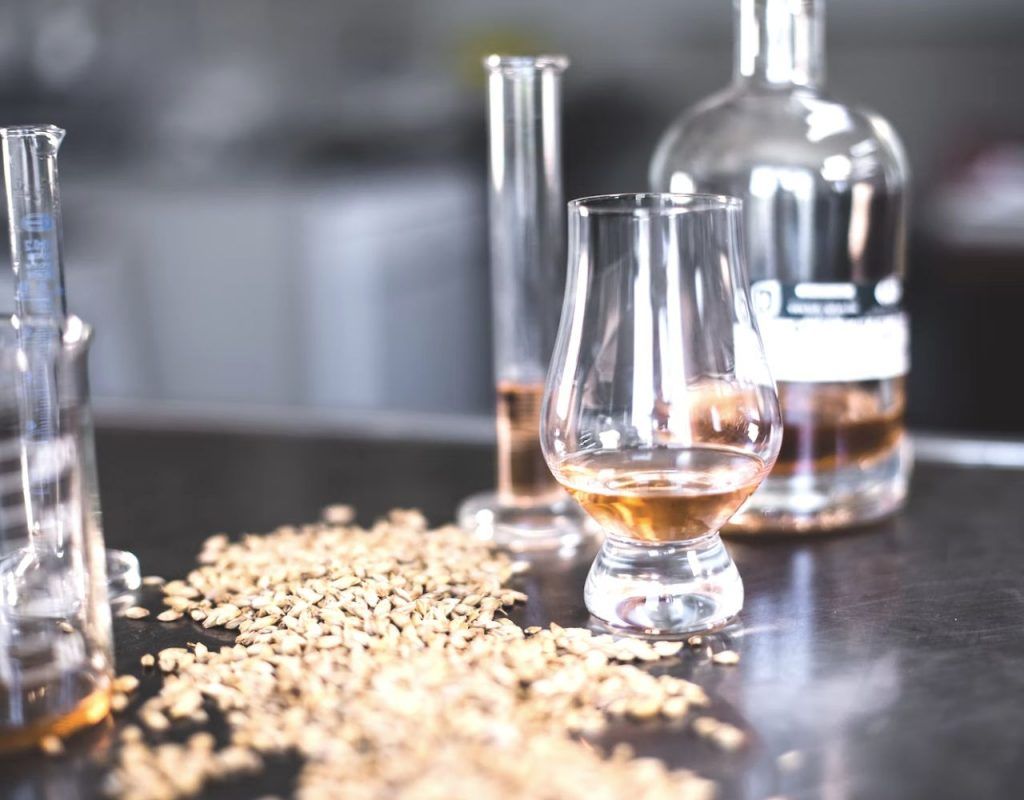
Whiskey is made from three ingredients: grain, water, and yeast. The grains are malted by steeping the grains in water and then spreading them on the floor. This process allows the grains to germinate and for the starch to convert to sugar.
From there, the grains are heated in peat smoke, mashed, fermented, distilled, and then left to mature in oak barrels.
What Are The Different Types Of Whiskey?
There are numerous distinct spirits that all fall under the category of whiskey. The contributing factors that give whiskey its unique characteristics are the grains used, the barrels used for maturation, and the surrounding climate and environment. Below is an overview of the different types of whiskey.
1. Bourbon
Bourbon is whiskey made from 51% corn. According to the Alcohol and Tobacco Tax and Trade Bureau, for this American Native spirit to be called Bourbon, it has to be made in the US and be aged in oak barrels for 2 years or more at a maximum of 62.25% ABV (125 proof). Also, it shouldn’t be bottled at less than 40% ABV (80 proof).
2. Rye
Rye whiskey is an alcohol made from rye. Rye whiskeys are usually 51% of the mash bill. To that, distillers add other grains like corn, barley, or wheat to make the whiskey sweeter, spicier, and more rounded. The final product is often light and spicy liquor.
There are two main styles of rye: spicy and sweet rye. Spicy liquor is made from 80-90% rye, and sweet has about 49% corn.
3. Scotch
According to the Scotch Whiskey Act of 1988, for an alcoholic beverage to qualify as Scotch, it must be produced in Scotland and aged in wood barrels – American white oak, or European oak, for a minimum of three years.
Also, it has to be distilled to an alcoholic strength of 94.8% alcohol by volume (ABV), and the final, consumable product has to have a minimum alcohol strength of 40% ABV (80 proof). The only additives permitted are water and caramel flavoring.
4. Irish
Irish whiskey is made from malted barley with some corn, and it’s made in Ireland. The liquor is distilled up to three times, and it’s lighter in character.
5. Single malt
Single malt whiskey means the alcohol was made by one distillery using only malted barley.
6. Blended Whiskey
Blended means the whiskey is not made from a single grain-it’s a combination of corn and wheat, and notes from various distilleries like Ireland and Scotland. These are married and create a blended whiskey.
How To Make Whiskey At Home (Step-by-step)
Making a full-flavored whiskey at home is a fairly simple task. You’ll need a few store-bought ingredients and some time. Here’s a comprehensive guide to making whiskey.
Disclaimer: The photos below are from when i made this recipe myself as a double batch! I used my beer brewing kettles as it’s the only thing I had that could heat up 40L of water! Of course, you don’t need fancy kit to make this, a big stock pot on the stove will work just fine 🙂
1. What you’ll need
Before you get started with your whiskey, it’s always best to ensure you have all the required equipment and ingredients at hand. Here’s a list of what you’ll need.
Ingredients
- 10 pounds (4.5kg) grain of your choice
- A packet of whiskey yeast.
- 4 (1.8kg) pounds of sugar
- 5 gallons (19 liters) of water
Equipment
- Grain grinder (Or buy the grains crushed from your local home brew store)
- Hydrometer (We recommend the American Brewing hydrometer in this article)
- Fermenter
- Sterilized glass jars
- Pot still
- Thermometer
- Stainless steel pot
- Oak barrel or oak chips/cubes

2. Selecting the grain:
Choose the type of grain you’d like to use. This can be anything between wheat, barley, rye, corn, or a combination of grains. The type of grain will depend on the flavor and aroma you’re going for. For a balance between sweet and spicy, you can use corn and barley.
Learn More: In this article, we take a look at the best grains for making whiskey.
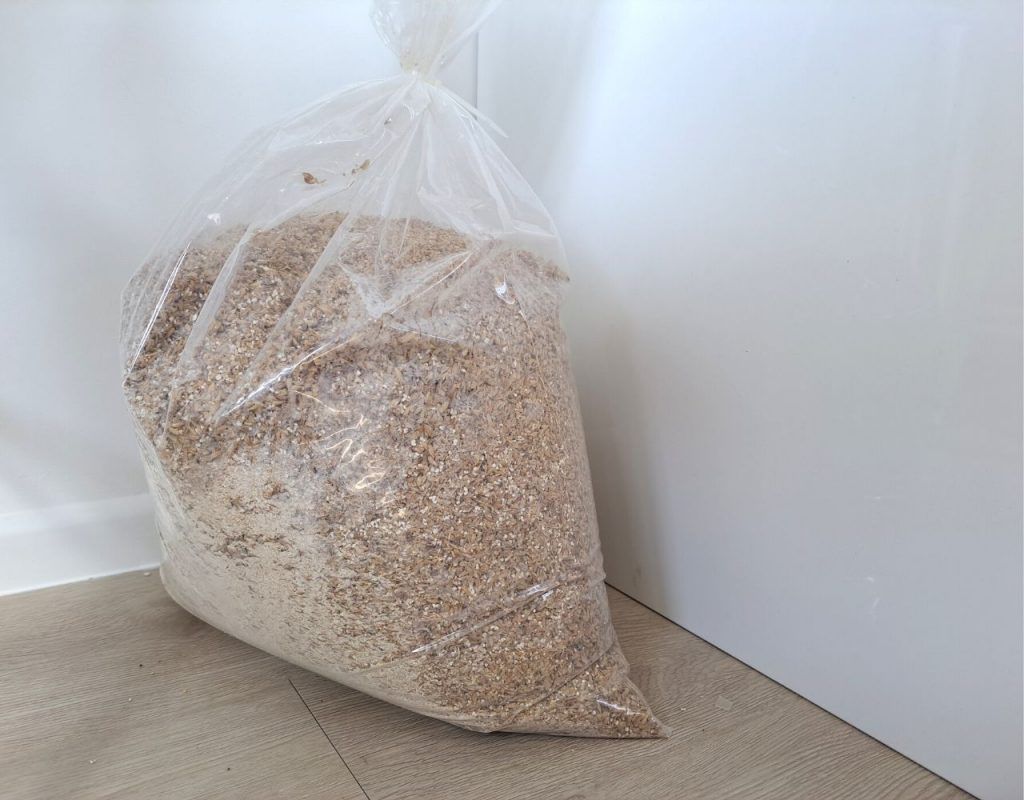
My Take: I chose to make a single malt, and like the nutty taste of Vienna pale malt, so in my version, I’ve used 8kg of crushed Vienna.
3. Crushing the grains
Using the grain grinder, crush the grains into a coarse state – just enough to break the grains open.
4. Heating the strike water
Now we need to prepare the hot water for the mash.
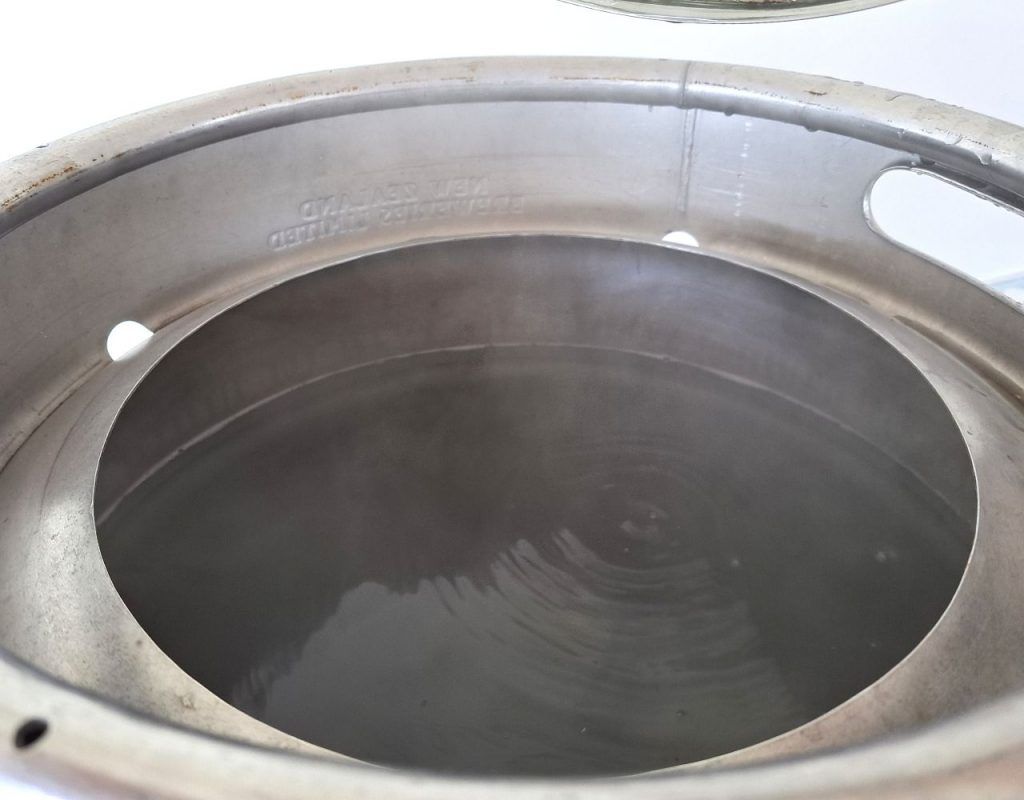
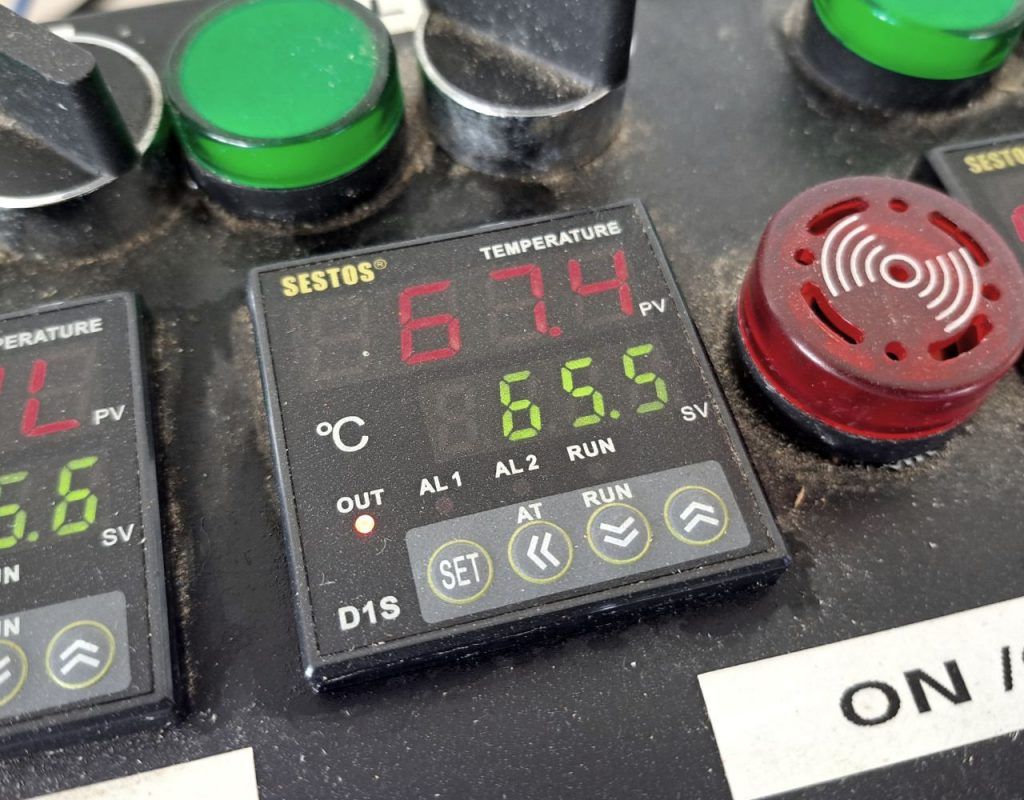
We want our mash to sit at around 65C to 68C to allow for the best enzymatic conversion, so we need to make our strike water a little hotter to allow for the cooling down that will occur from the mass of room temperature grain.

5. Mashing the grains
In this process, we add the hot water to the grains and let them sit to allow the starches to convert into sugar.
Read more: If you want to know more, check out this article which explains what amylase is and how it converts starch in the mash process.
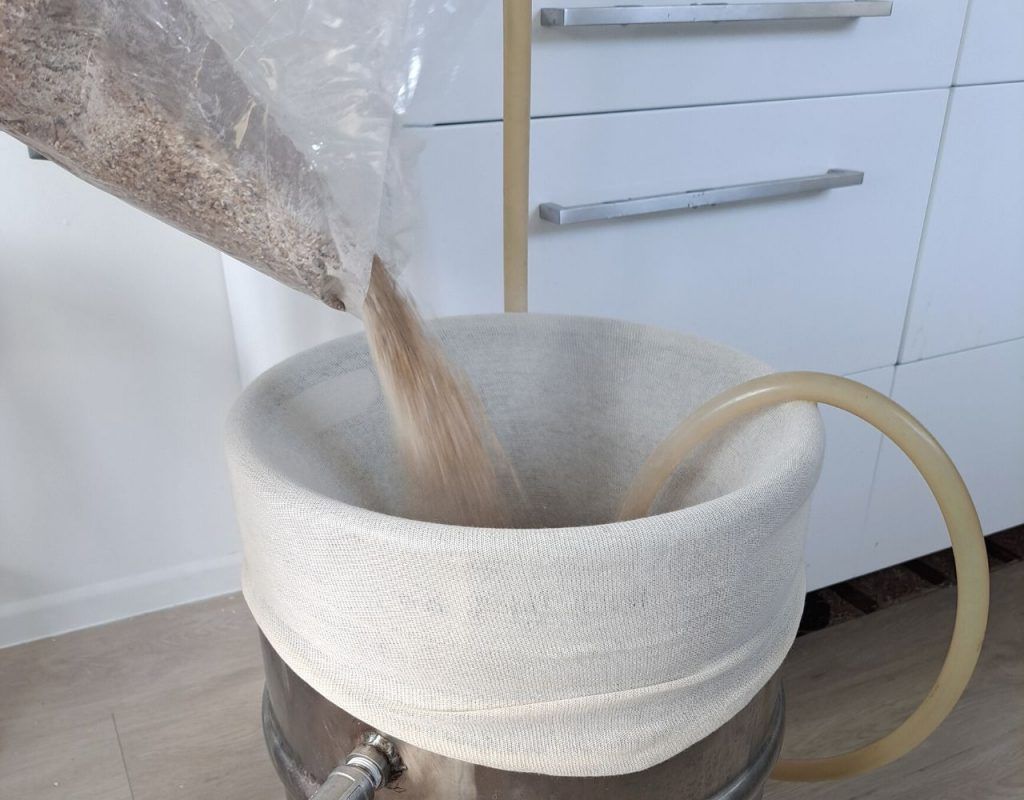
- Use a pot with mesh bottom to strain the grain, or do what I’ve done and find a large muslin bag that can fit the pot and hold all your grain.
- Pour your grains into the pot or bag.
- Add the strike water (from step 4) on top of the grains. Stirring vigorously to make sure there are no dough-balls.
- Check the temperature and try to get as close to 67℃ as possible (65℃-68℃ is fine)
- Put on the lid and let the contents sit for 60 minutes to 90 minutes. stir occasionally.
- Recommended: Drink some whiskey while you wait
6. Prepare your fermenter
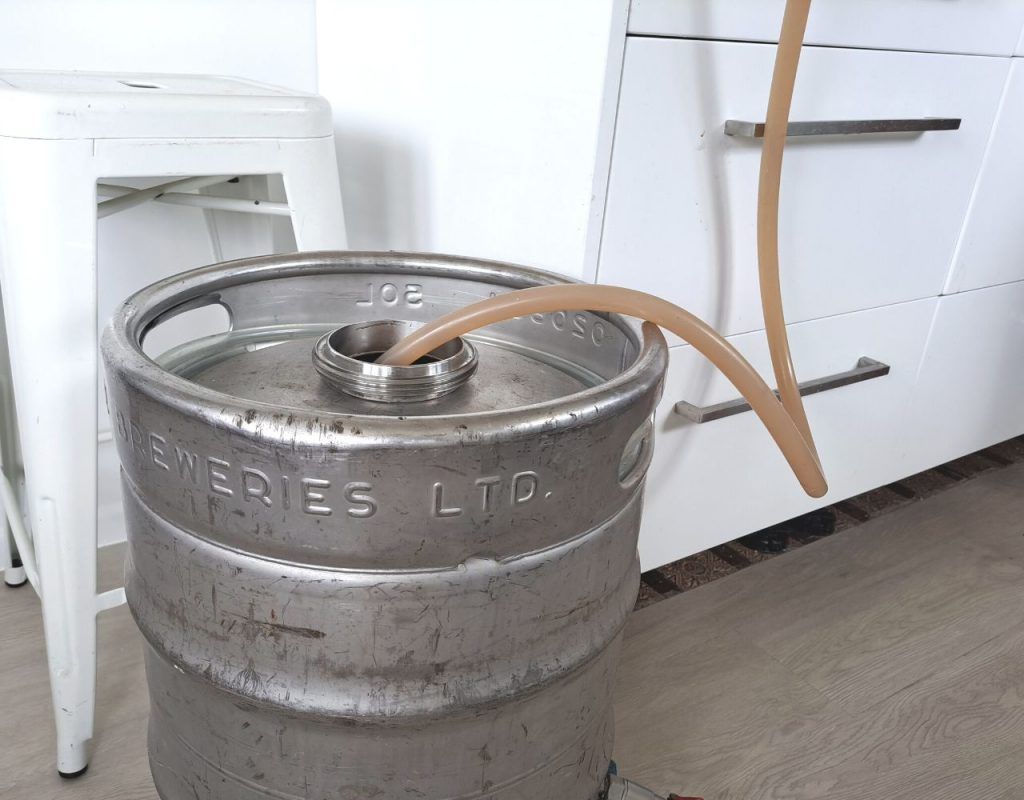
7. Mash-out and sparge
TIP: To speed up the cooling process, you can make a cold bath in your kitchen sink and insert the pot. Continuously check the temperature so it doesn’t go below 25℃ (77℉).
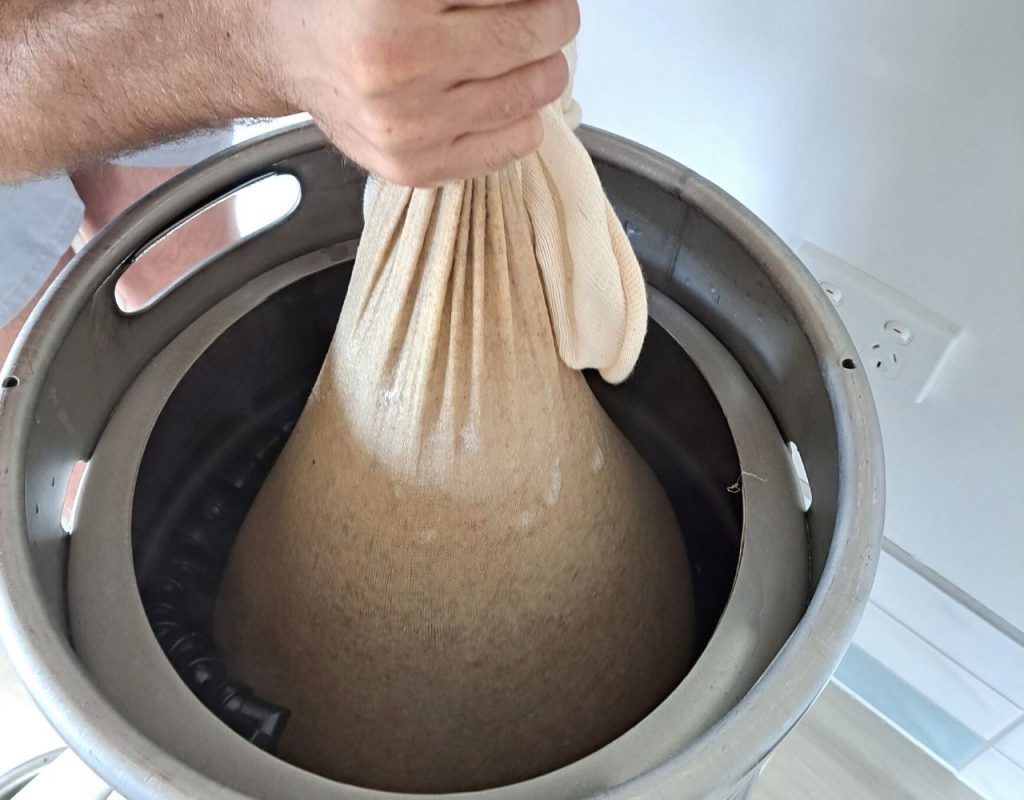
8. Checking The Gravity
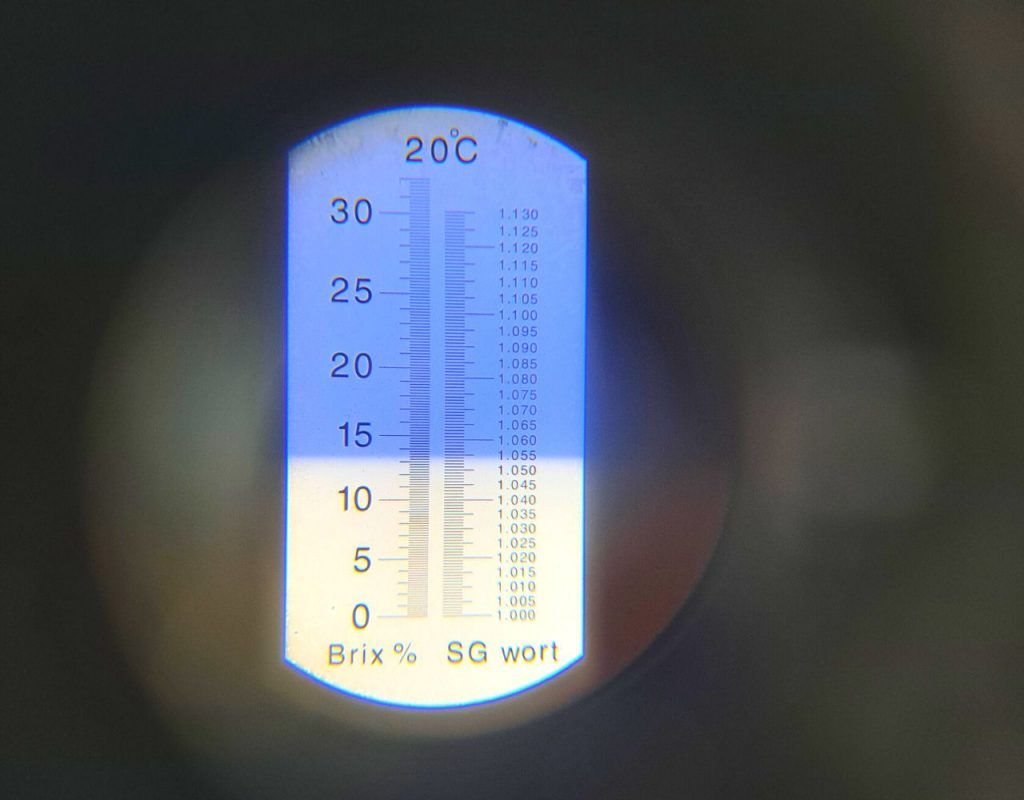
Before we add the yeast we need to check what the gravity of our wash is. This will tell us how much alcohol we’re going to produce!
Note: It’s good to do this multiple times throughout the mash process (too see if anything has gone wrong) but to keep things simple, we’re going to check this at the end.
To do this, you need either a refractometer, or a hydrometer.
I’ve used a refractometer here which shows we have a starting gravity (SG) of around 1.055. This will probably result in an alcohol percentage of around 6% as long as our yeast attenuates properly.
9. Making a yeast starter
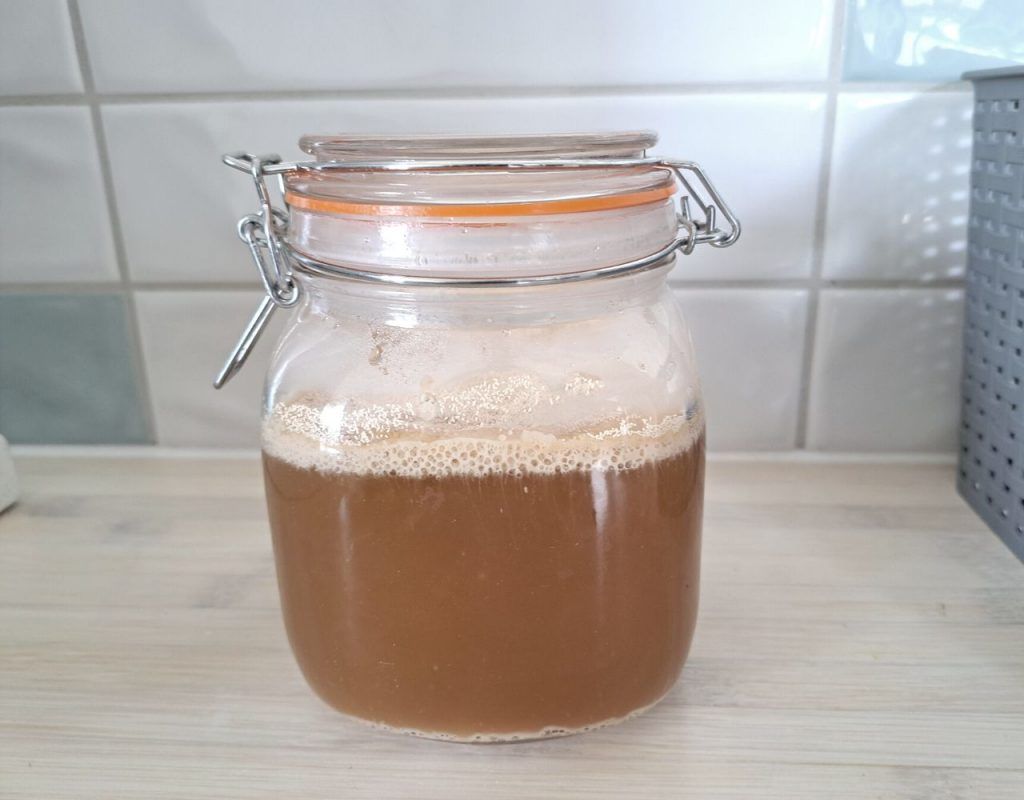
This step isn’t 100% necessary, but I always do this because it’s so easy and guaranteed I get a healthy and vigorous fermentation.
A yeast starter allows the yeast to propagate on a small scale so you get a larger number of yeast cells by the time you add them into your main wash.
Take a small flash or mason jar and decant off a small about of your main wash.
Tip: You can also prepare this the night before using some malt extract or sugar – but it’s going to take 12hrs for my fermenter to drop to pitching temperature, so I’m going to keep things simple and use the same sweet mash.
Add your yeast and yeast nutrients. I’m using some US05 ale yeast because I’m all out of my usual whiskey yeast, DistillaMax MW.
Read More: This article explains the best yeasts for making whiskey, and this article teaches you everything you need to know about yeast nutrients!
10. Fermenting the wash/wort
Depending on the temperature in your environment, it can take up to 15 days for the wash to ferment. Follow these steps to ferment your wash.
- Pour the yeast or yeast starter into the fermenter.
- Place the fermenter in a room that has temperatures of 18-25℃ (64-77℉). Place an airlock on your fermenter to monitor the fermentation process and prevent any bacteria getting in.
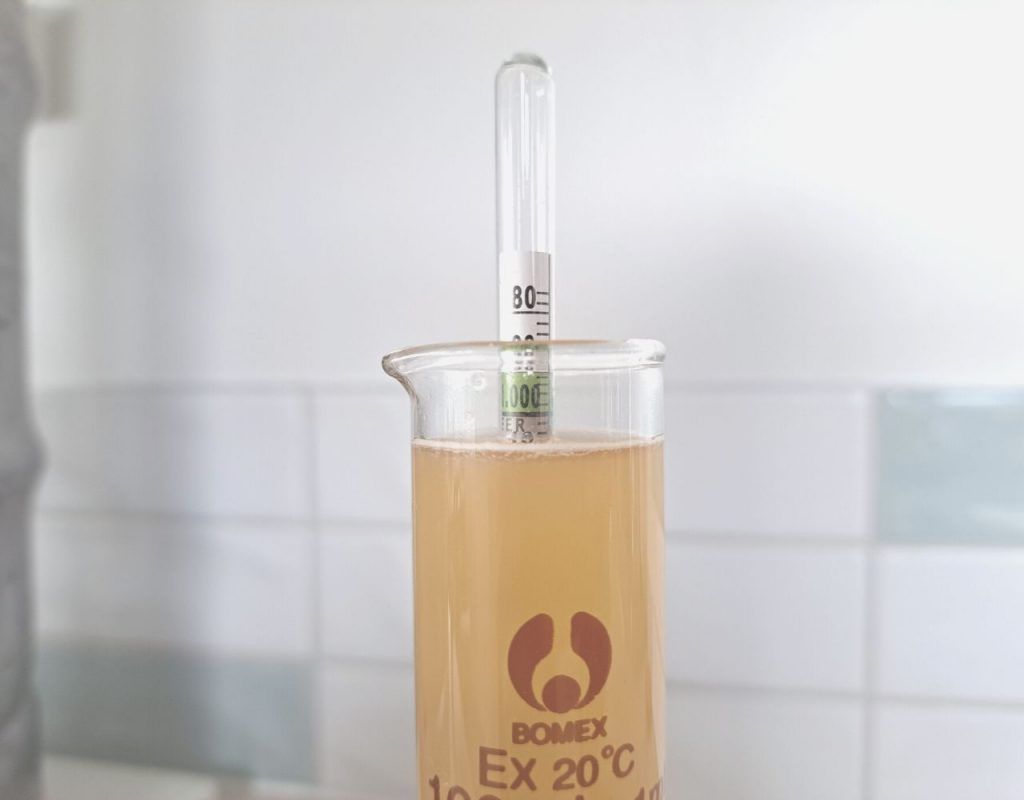
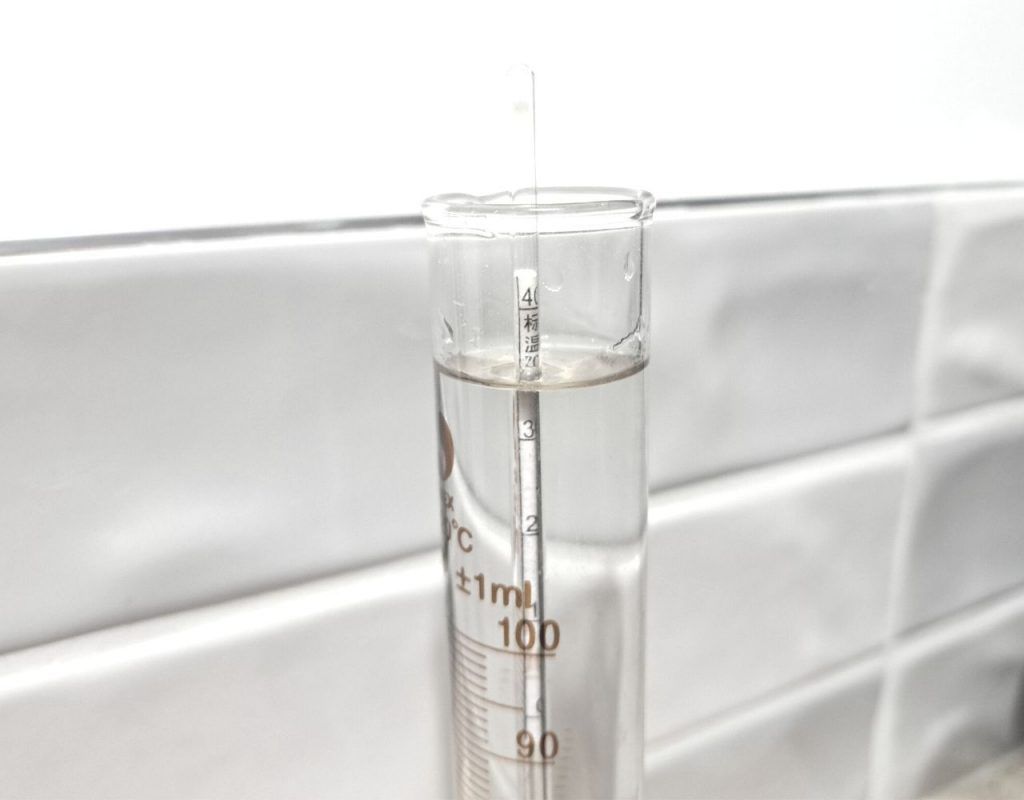
- When the airlock has stopped bubbling, you can take a gravity reading using a hydrometer. If it reads around or below 1.000, then it’s ready to hit the still. But before that, let’s clarify the wash.
11. Clarifying the wash
Clarifying is a process that involves removing any spent grains which might scorch during distillation.
Here’s how to clarify your wash.
- First, take the fermenter and place it in a fridge overnight. This is called cold-crashing and will cause the yeast and any other particulates to clump together and fall out of solution.
- Then filter the wash by using a clean bucket and place the cheesecloth or sieve on top.
- Pour the wash into the sieve and allow all the liquid to filter through.
- Set the spent grains aside and proceed to perform a stripping run.
12. Time To Distill: Performing A Stripping run
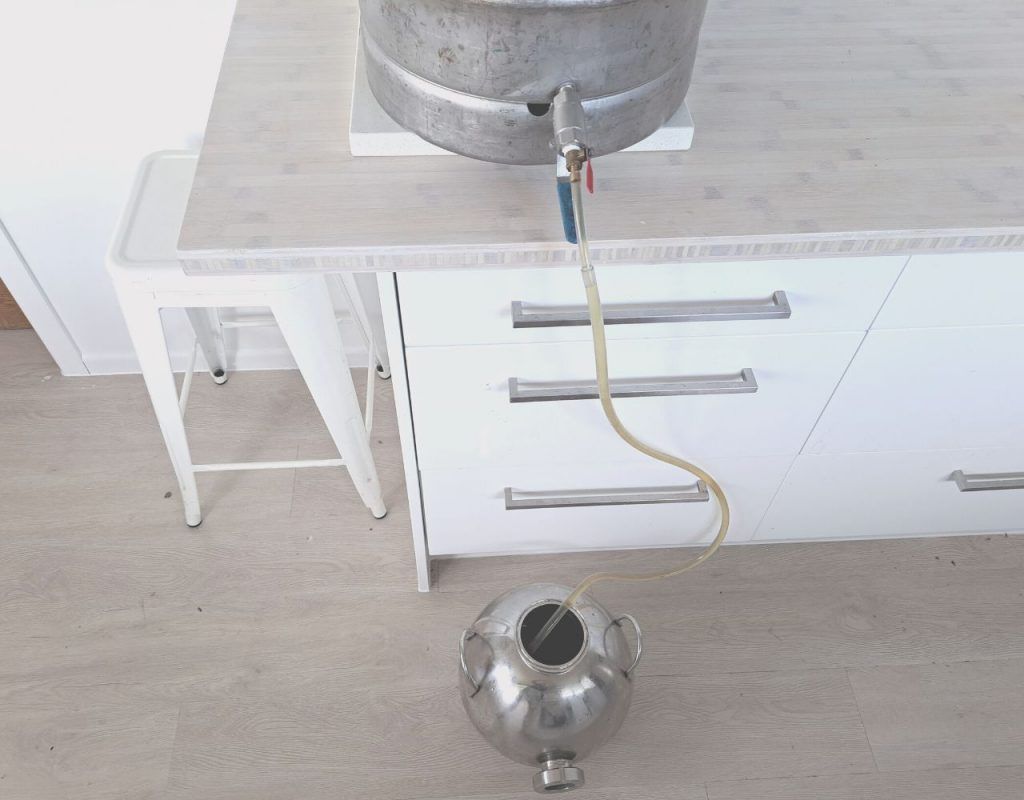
Here’s the problem: We now have 20L of weak beer, at about 5% ABV. This won’t even fit in your still, and needs clearing up before we start agonising the cuts we want to make.
Solution: A stripping run!
For this distillation process, you’ll run your still fast at the highest temperature. Here’s how to perform a stripping run.
- Put your wash in the still.
- Turn up the heat on your still to the max.
- Start running cooling water to the condenser before any vapor is produced.
- When the still reaches its highest temperature point, start collecting your distillate.
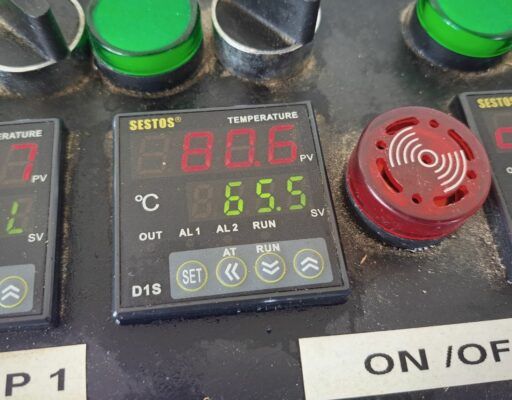
- Keep collecting the distillate until the temperature of your still reaches 207°F (97℃).
- Turn off the heat and allow the still to cool completely.
Read More: This article takes you through the details of a stripping run, what it is, and how to perform one.
12. Distilling the whiskey: The spirit run
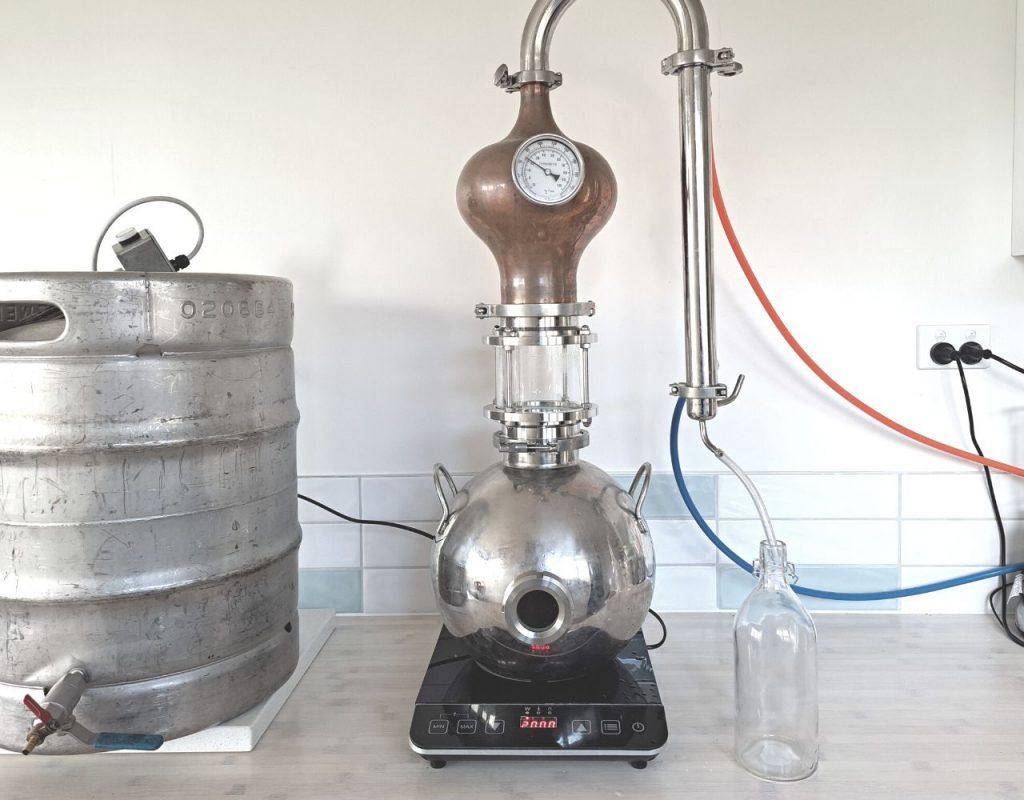
Distilling your whiskey requires careful monitoring from your side. This is where you’ll be making cuts because you don’t want to bottle any harmful chemicals, assuming it’s whiskey.
- To distill, add your low wines to your still.
- Turn on your heat source.
- Let the vapors start turning into liquid in the condenser.
- Make sure you have your glass jars ready to start collecting your distillate and making cuts.
13. Making Cuts
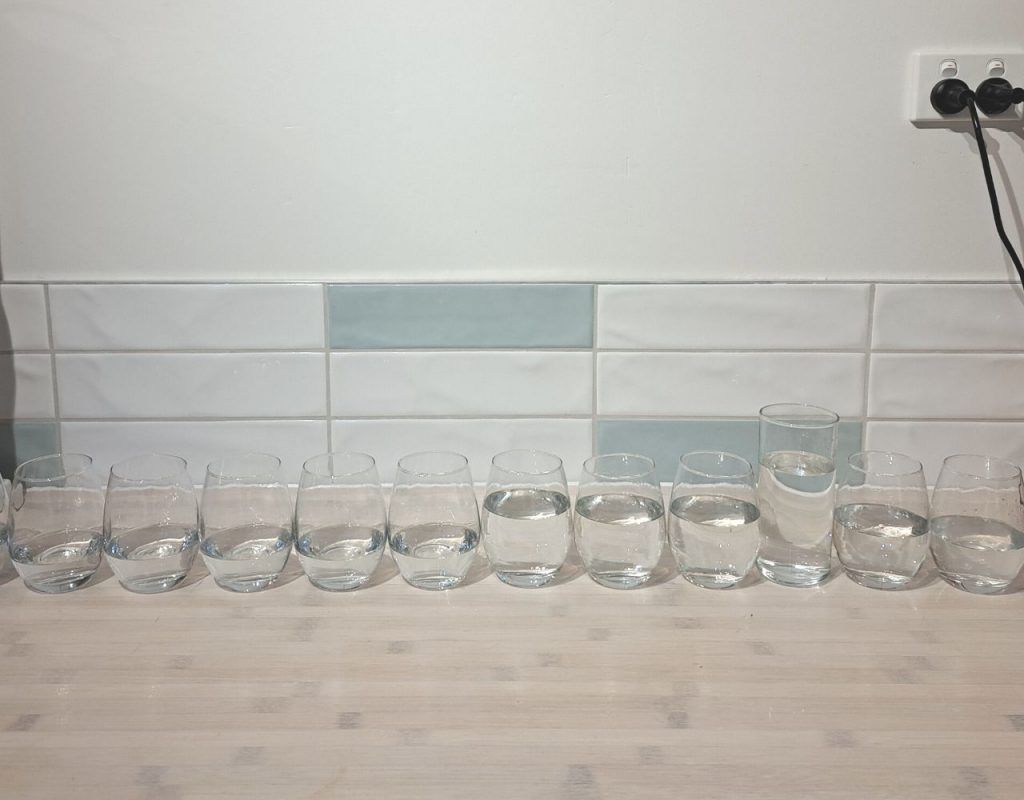
Making cuts is an important part of distilling that lets you keep only what you need and discard any non-consumable liquid. Label your jars from 1-10, where every 250ml distillate leaving your condenser will be collected into individual jars. Here’s a brief overview of making cuts.
- Foreshots and heads: Methanol boils at 168 °F. And since this is the stuff you want to get rid of, you can start collecting your foreshots and heads when the temperature of your still gets to this point. In general, 250ml per 5 gallons is what you’d collect as your foreshots and heads.
- Hearts: Ethanol boils at 171 °F, and herein lies the hearts. You can start collecting the hearts when the temperature increases to 179 (depending on your still). Collect the hearts until you get an ABV of below 45%.
- Tails: Lastly, you’ll collect the tails. Usually, when half a gallon of alcohol is left in your still, the tails exit the still. They often smell like cardboard or some kind of burn.
The hearts is where the good stuff is so you’ll age that part of the liquid and let it mature.
Read More: making cuts is complicated even for the most experienced distiller – this article shares our foolproof method for making the best cuts possible, even if it’s your first time!
14a. Aging and oaking the whiskey.
Aging and oaking are not only about color. It’s a great way of releasing flavors and aromas of caramel, vanilla, and enhanced fruitiness found in the oak. To allow your whiskey to mature, you can use two methods: aging in barrels or using inserts. Here’s an explanation of both methods.
Aging in barrels
To age your whiskey, you’ll need to cure your barrel. This prevents leaks and is done by adding warm to hot water into the barrel. The curing process takes 2-7 days.
How to cure the barrel
- Fill the barrel with hot water from the tap and cover the filling hole at the top.
- Let the water sit for 48 hours.
- Monitor the level of the water, and refill the barrel with water until it reaches the top of the barrel.
- Water will leak, but continue filling the barrel with water until the leaking stops.
- When the leaking has stopped, drain any water left in the barrel.
- Pour warm water and rinse the inside of the barrel until the water runs clear.
How To Age Whiskey
- Fill the barrel with a 55% ABV spirit and place to barrel in a cool place away from direct sunlight.
- Monitor your spirit every 2 weeks and rotate your barrel every month to help blend the whiskey.
14b. Aging with inserts
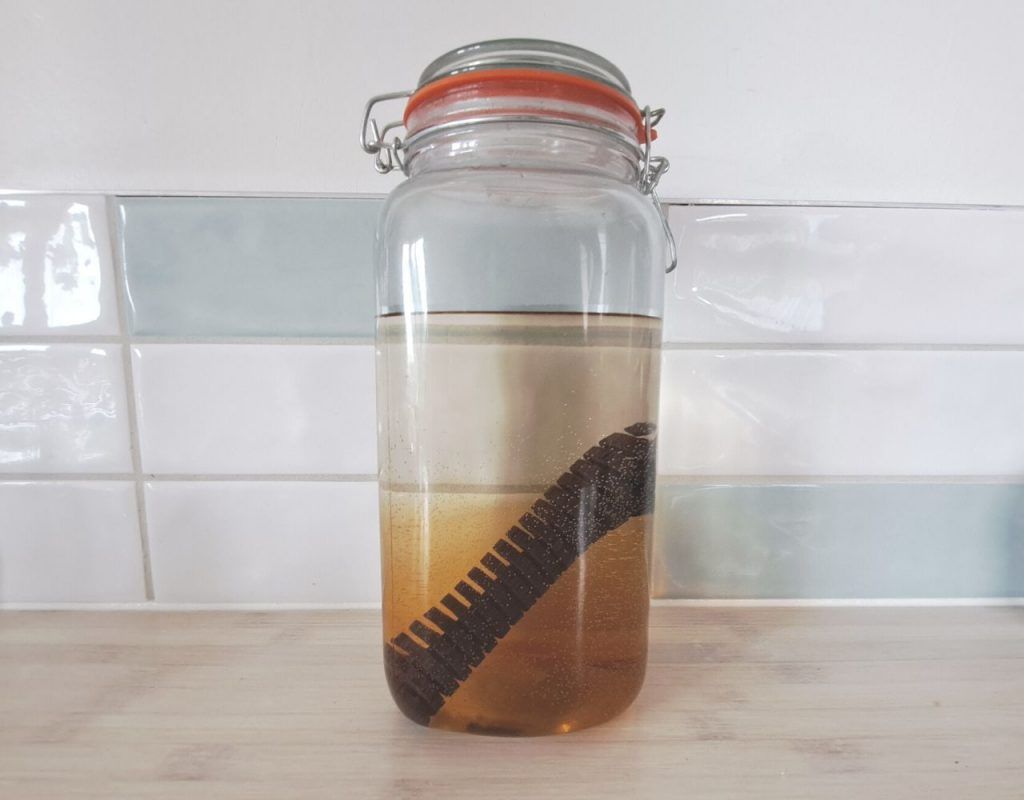
The more oak you use, the more flavor you’ll get, similar to commercial whiskey. First, you’ll get some American or French oak. Follow these steps to age whiskey using inserts:
- Dilute your distillate to 45-55% ABV.
- Pour 1 liter of the spirits into a glass jar.
- Add 20-30 grams of oak chips into the jar. If you’re using cubes, add 8 cubes into the jar.
- Cover the top of the jar with a coffee filter and keep the filter in place using an elastic band.
- Taste the whiskey every two weeks until the desired flavor is achieved. Aging can take up to three months.
- When the spirit tastes as desired, strain the whiskey into a glass jar using a cheesecloth or coffee filter. Straining prevents chips from entering your finished product.
- Seal the jar and store it in a dark, cool room.
15. Filtering and bottling
Comming soon!
Frequently Asked Questions
Q. Can you make your own whiskey?
You can make your own whiskey. You’ll need grains, yeast, and water. The grains have to be ground to a coarse state so they’ll release the sugars required to kick-start fermentation. Then you’ll steam or cook your grains, and ferment them with water and yeast to make a wash. Lastly, you’ll distill your wash.
Q. What is the main ingredient in whiskey?
The basic ingredient of whiskey is grain. Typically, wheat, corn, barley, or rye. To this, you add yeast and water to ferment the grains.
Q. What is the process of making whiskey called?
Here’s an overview of the processes involved in making whiskey.
Malting: The grains are soaked in water and placed on a floor to germinate. During this process, airborne bacteria interact with the grains, and the starch converts to sugars. The grains are dried using peat smoke.
Mashing: The dry grains are ground to a coarse state, and hot water is added to prepare for fermentation.
Fermentation: The wash is cooled to 20℃. Yeast is added, and it feeds on the sugars to convert them to alcohol and the wash is left to ferment for up to 3 days.
Distilling: The wash is heated using pot stills. The process strips off any impurities and produces a high alcohol-by-volume spirit.
Aging: Maturation is a vital step that produces a smooth, flavorful, and amber drink. The aging process can take anything from a year to 15 years (sometimes more, depending on the distiller’s specifications).
Conclusion
Making whiskey is an exciting experience. You get to see your efforts come to fruition, and you can finally enjoy a sip of your fine whiskey. Making whiskey requires just three ingredients: grains, water, and yeast.
Depending on what flavor you’re looking for, you can make a multi-grain wash by mixing corn, barley, rye, or wheat, to achieve a pleasantly balanced spicy and sweet drink. Getting your desired flavor and learning a new skill in the process is what makes this craft enjoyable.




Thanks for the tip about how it’s important to also consider how the fermentation is done when making whiskey. I’d like to find a craft whiskey club soon because I’m thinking about making my own liquor in the future. I think that will be a nice hobby to take up when I retire someday.
Pingback: Homepage
T
thanks tristan
great and simple explanation
i feel ready to try first time thanks
philip
Glad to have helped! Good luck 🙂