Brandy and Schnapps, Distilling 101
How To Make Brandy (A Step by Step Guide)
Brandy is one of the easiest spirits to make when you’re starting out – though can be challenging to master!
The process uses minimal ingredients that you can purchase at your nearest store. And, we can safely say your liquor will be ready for consumption within three months.
So, how do you make this magical drink? Let’s find out!
Table of Contents
What Is Brandy?
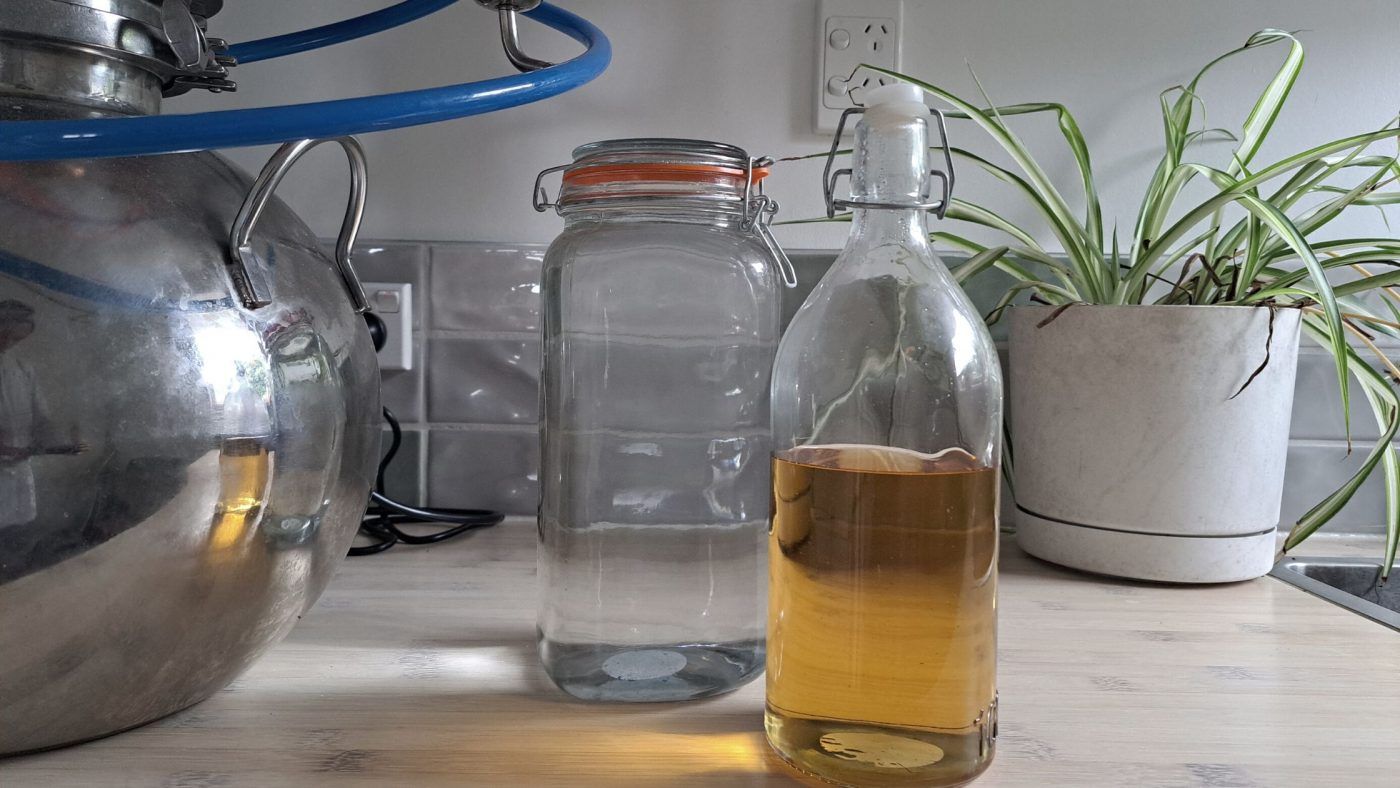
Brandy is a distilled wine. It’s derived from fruit with a high sugar content, and most of the time you’ll find that brandy has its own geographical profile. This is because brands such as Cognac and Armagnac have regulations in place that qualify them as a certain brand.
Brandy can be recognized by its sweet, fruity taste with complex esters and vanilla butterscotch notes from the oak.
What Is Brandy Made From?
The main fruit used to make brandy is grapes. But, the art of making brandy has evolved, giving you a wide array of fruit you can play around with. Fruits used to make the drink include:
- Plums
- Peaches
- Apples
- Pears
- Apricot
- Pineapple
- Cherries, and many more.
The one thing to always remember when making brandy is that you should use your fruit at its ripest.
Caution: leafy/woody matter from fruit wines is responsible for high amounts of methanol in our final product. This guide explains more on the subject.
What Are The Different Types Of Brandy?
There are various types of brandy worldwide. Here are the most common ones.
Very Superior Old Pale (VSOP)
VSOP has been aged for three years. This duration allows the flavors from the interaction between barrel and spirit to really come through. You might pick up notes of vanilla, cinnamon, and caramel from this liquor.
Very Special (VS)
A VS is a type of brandy that’s been aged for at least three years. It’s more rounded and generally easier to drink if you’re not fond of the vast flavors a more mature brandy has to offer.
Extra Old (XO)
Anything aged for at least six years can be classified as an XO.
Cognac
Cognac is a type of brandy made purely of grapes. It’s made in the region of Cognac in France. For the drink to qualify as a cognac, it has to be distilled by 90% Ugni Blanc and 10%, Folloe Blanch, and Colombard. This liquor is double distilled and aged in oak barrels for two years.
Armagnac
Armagnac is another variety of brandy produced in the region of Armagnac, France. It’s typically aged in oak casks. Similar to Cognac, it uses specific grapes and doesn’t qualify to be called an Armagnac if it’s not produced in the said region.
Pisco
Pisco is of Peru and Chile origin. The beverage is distilled from a variety of grapes and it’s unaged. It’s traditionally a colorless, clear liquor.
Metaxa
Metaxa is a brand of Greek origin. It’s one of the smoothest liquors you can get your hands on, and it’s typically infused with herb extracts. It’s made from muscat and wine distillate which are aged in separate oak barrels. The two spirits are then mixed and various Mediterranean spices and botanicals are added to them. For this reason, it’s famously known for the floral, fruity, and Mediterranean notes it gives off.
Grappa
This is an Italian brandy distilled and fermented from all parts of the grapes. So we’re talking the stems, seeds, and skin. The end product is often harsher on the pallets, but the Italians favor the intensity that comes through. Grappa is typically unaged.
Calvados
Normandy, situated in France, is another region known to produce the fruitiest and most floral wines. Calvados, a product of Normandy, is made from apples or pears, or both. It’s commonly known as applejack in the US.
Marc
Marc is a French pomace brandy. It’s made using the leftovers of grapes such as the skin, seeds, stems, and pulps. It’s aged in oak barrels for at least 10 years.
Eau De Vie
Eau de vie is a French clear, pure distillate of mashed fruit-often pear. The spirit is double distilled and unaged.
Can Brandy Be Made At Home?
Brandy can be made at home. It’s a fairly simple process as long as you’ve got the required ingredients and equipment. Below is a comprehensive guide on how to make high-quality brandy at home.
How To Make Brandy At Home (Step-by-step)
Making brandy can be an enjoyable process. All you need is the proper equipment, good quality fruit, and time.
Selecting Fruit For Making Brandy
As mentioned, when making brandy, it’s best to choose fruit that’s very ripe with high sugar content. This helps kickstart the process of fermentation and releases the flavors of the fruit. The following fruit can be used to make brandy:
- Apples
- Peaches
- Grapes
- Pineapple
- Plums
- Cherries
Read: Our guide to the best grapes for making brandy
Note: If you don’t have any fruit at hand, you can also use 100% preservative-free fruit juice.
Ingredients and Equipment Needed To Make Brandy
Here’s a list of ingredients and equipment to have at hand for when you start making brandy.
To prepare your fruit:
- 20kg fruit of choice. (This might seem like a lot. But, because some of the distillate won’t be used after making the cuts, it’s best to use at least this amount to get a decent amount of brandy.)
- Knife
- Large container
- Chopping board
To ferment your wash
- Yeast (Read: Our top 5 yeasts for making brandy)
- 45ml water
- Small bowl
- Sugar (optional)
- Fermenter
- Ladle
- Paint mixer (optional)
- Pectin enzyme
Top Tip: We recommend using yeast that will create floral and fruity esters such as wine yeast. But, if you don’t have access to it, active dry yeast will do!
To clarify the wash
- A strainer, cheesecloth, or grain bag.
- A clean bucket.
For distilling and aging
- Still (preferably a pot still)
- Glass jars
- Glass containers to store your brandy
- Oak chips, cubes, or mini oak barrels.
Step 1: Prepare Your Fruit
Now that you’ve selected the perfect fruit for your spirit, it’s time to get it ready to enter the fermenter. Follow these steps to prepare your fruit.
- Wash your fruit thoroughly.
- Wipe them with a clean cloth.
- Cut your fruit in half and remove any stems, seeds, and stones.
- Dice and chop the fruit.
- Place the chopped fruit in a large container.
Step 2: Fermenting The Wash
Fermentation can take anything from 10 days to a month. If you live in hotter climates, you can expect to have your wash ready to hit the still in 10 days. Generally, the best fermenting temperatures are between 18°C-20°C. Here’s how to ferment your wash
- Grab a fermenter or plastic bucket with a lid.
- Put your fruit into the fermenter.
- Pour enough water to cover the fruit.
- Add a packet of pectin enzyme and stir using a ladle. Pectin enzyme helps break down the fruit and activate sugars responsible to kickstart the yeast).
- In a small bowl, pour the yeast and add 45ml of warm water. Stir until the yeast completely dissolves. (This prevents any lumps from forming when you add the yeast to your fruit).
- Pour the yeast solution onto the fruit and stir.
- Cover the fermenter with a lid.
- Check and stir your wash every 3 days.
- After two weeks, check if your wash has fermented by doing a gravity reading using a hydrometer. The ideal reading you should get is 1.
Top tip: You can also use a paint mixer to further break down your fruit after adding the enzyme. Simply switch it on and insert it into the fermenter, then swirl it around the fruit until most of it breaks down.
Step 3: Clarifying The Wash
Now that your mash has fermented, it’s time to clarify your wash. This process involves removing any chunky bits from your wash before it goes into the still. Why do you need to remove the bits, you ask? Unlike commercial stills, any solids distilled in equipment designed for home use tend to burn at the bottom of the still. So to avoid this, we strain our wash! Here’s how to easily clarify your wash.
- Put the strainer onto a clean bucket.
- Pour the mash into the strainer, and repeat until all the wash transfers into the bucket.
Step 4: Performing A Stripping run
Now that your wash has fermented, it’s time for the first step-performing a stripping run.
As always, safety first! You’re dealing with a flammable product, so make sure you:
- Work in a well-ventilated area.
- Run alcohol that is 40% ABV.
- Collect the distillate using glass jars.
As with all stripping runs, this process has to be done quickly at the highest temperature your condenser can manage. It might take about 3 stripping runs to get through the fermented mash. Here’s how to effectively do a stripping run:
Read: Our guide to the best alembic stills
- Assemble your still.
- Pour the wash into the still.
- Heat your still at the highest temperature.
- Allow the mash to heat up allowing vapors to form.
- Start collecting your distillate (low wines) using glass jars.
- Turn off your still when the temperature reaches 207°F.
- Wait for all the liquid to drip into the jars.
Distilling The Brandy
Caution: To distill your brandy, check that your low wines have 40% alcohol by volume (ABV). Alcohol is flammable, so anything above this percentage can explode. If the ABV is over 40%, dilute it with water till it reaches the said percentage.
Distilling your brandy (aka performing a spirit run) requires you to carefully monitor your still. This is where you’ll be making cuts, so you don’t want to be bottling any harmful chemicals thinking it’s brandy.
- To distill, add your low wines into your still.
- Turn on your heat source.
- Let the vapors start doing the work of turning into liquid in the condenser.
- Make sure you have your glass jars ready to start collecting your distillate and making cuts.
Interesting to know: When it comes to distilling fruit-based spirits like brandy, a process called fractional distillation is applied. In this case, you take the time to smell the tails and find any oil flavors, esters, and aromas that can be used to enhance the flavor profile of the final product.
Making Cuts
By now your distillate will start exiting the condenser, and you can make cuts. Since some of the distillate collected will contain non-consumable chemicals, it’s best to label your glass jars so you know which part qualifies as the spirit needing to age. But, when and how do you make the cuts? The following points will guide you.
- Foreshots and heads: Methanol boils at 168 °F. And since this is the stuff you want to get rid of, you can start collecting your foreshots and heads when the temperature of your still gets to this point. In general, 250ml per 5 gallons is what you’d collect as your foreshots and heads. Foreshots and heads are the first liquids or distillates that come out of the column. It’s poisonous and unpleasant to drink. Some brewers recommend you discard them. But, you don’t have to. You can use these chemicals to start a fire when making a barbecue or use them to clean windows and paint brushes.
- Hearts: Ethanol boils at 171 °F, and herein lies the hearts. Commonly known as the “good stuff”. When the temperature increases to 179 (depending on your still), you can start collecting the hearts. You can also recognize this liquid from the smell. The aroma closely resembles that of the parent fruit without the pungent smell of methanol and acetone.
- Tails: Lastly, you’ll collect the tails. Usually, when half a gallon of alcohol is left in your still, the tails exit the still. They often smell like cardboard or some kind of burn. To be certain that these are tails, take a tiny small sip. And if you pick up elements of bitterness, then you know that those are tails.
So, what do you do with all the cuts you’ve collected? As mentioned, you can use the foreshots and heads for household purposes. The tails also have a lot of alcohol and oils containing flavor, so they can be used for your next spirit run. The hearts is where the good stuff is, so naturally, you’ll age that part of the liquid and let it mature.
Aging And Oaking The Brandy.
If you want your brandy to have a beautiful brown to golden color, you can age or oak your spirit using wood. Aging and oaking are not only about the color. Thanks to the lignins found in the wood, the interaction between the spirit and oak releases flavors and aromas of caramel, vanilla, and enhanced fruitiness. There are two main methods for aging and oaking brandy to achieve a flavorsome brandy similar to a store-bought one: in barrels or using inserts.
Read: Our guide to the best oak for aging whiskey and brandy
HOW TO: Using inserts
Inserts are pieces of oak in the form of chips, cubes, or spirals. They’re preferred over barrels because they can be conveniently added into jars storing the brandy and are known to produce some good ol’ aged brandy in as little as three months. Here’s how to age brandy using inserts:
- Select the types of oak inserts you want to use.
- Pour 750ml of brandy into glass jars.
- Add 20 mg of chips or 8 cubes into the jar. If you want to add more, double the amount of liquor in the jar.
- Seal your glass with a coffee filter and keep the filter in place with an elastic.
- Taste your brandy every two weeks until the desired taste is achieved.
- If the flavor is to your liking, strain the inserts using a cheesecloth. Pour the brandy into a glass jar, seal tightly and store. Or pour yourself a shot to enjoy your creation.
Tip: If you want a fruity and spicy boost to your brandy, you can mix things up a bit by adding cherry, mulberry, and maple inserts together with the French oak.
HOW TO: Aging in barrels
So, if you want to experience the art of aging in barrels, you can use this method. Buy an oak barrel, preferably one that’s light to medium toasted, and follow these next steps for aging brandy in barrels.
- Cure your barrel for 2-7 days using hot water from the tap.
- Allow the barrel to dry completely.
- Pour the spirit into the barrel.
- Close the top of your barrel, and place the barrel in a cool dark place.
- Check the barrel every week to ensure the liquor is not leaking. You can also rotate the barrel once a week to ensure all the alcohol gets nicely blended.
- After three months to a year, pour a bit of your brandy into a shot glass and taste. If it’s pleasant enough for you, transfer it into a tight-sealed glass bottle.
NOTE: You can age your brandy anywhere from two years to 5 years. Some brandies are aged for up to 100 years.
Frequently Asked Questions
Q. Can brandy be made at home?
Brandy can be made at home. The main ingredients you need are fruit and yeast, and a few pieces of equipment like a pot still, a fermenter, a strainer, glass bottles, and a hydrometer.
Q. What is the main ingredient of brandy?
Fruit is the main ingredient of brandy. Most specifically, ripe fruit. The reason why fruit is used to make brandy is to ensure the final product gives off floral and fruity flavors and aromas, and this is usually achieved from fruit. Once you’ve picked out your fruit, it’s also recommended that you use yeast that creates fruit and floral esters to maintain the fruitiness of the drink.
Q. What fruit makes the best brandy?
Any good quality, ripe fruit can yield a high-quality brandy. The world is your oyster when making this fruit-based spirit. Fruit that’s high in sugar interacts really well with yeast as it releases fructose and all sugar compounds needed to help with the fermentation process.
Q. What’s The Difference Between Brandy And Eau De Vie?
The main difference between brandy and eau de vie is that brandy can be made from any ripe fruit whereas eau de vie is made mainly from ripe pears (or any fruit except grapes). Eau de vie is unaged, but brandy tends to be aged in oak barrels.
Conclusion
Making brandy is both an art and a science. You gather all the right fruit, ferment your fruit, do a stripping run, delicately do a spirit run, and age your liquor (if desired). There are various fruits, herbs, and spices you can use when making the spirit. The only limitation is your imagination. Of course, when you’re still starting, it’s best to follow instructions. As soon as you’ve gotten the basics underway, this hobby can be filled with many fun experimental moments.





Pingback: Homepage