Brewing Hardware, Distilling Hardware, Tools and Equipment
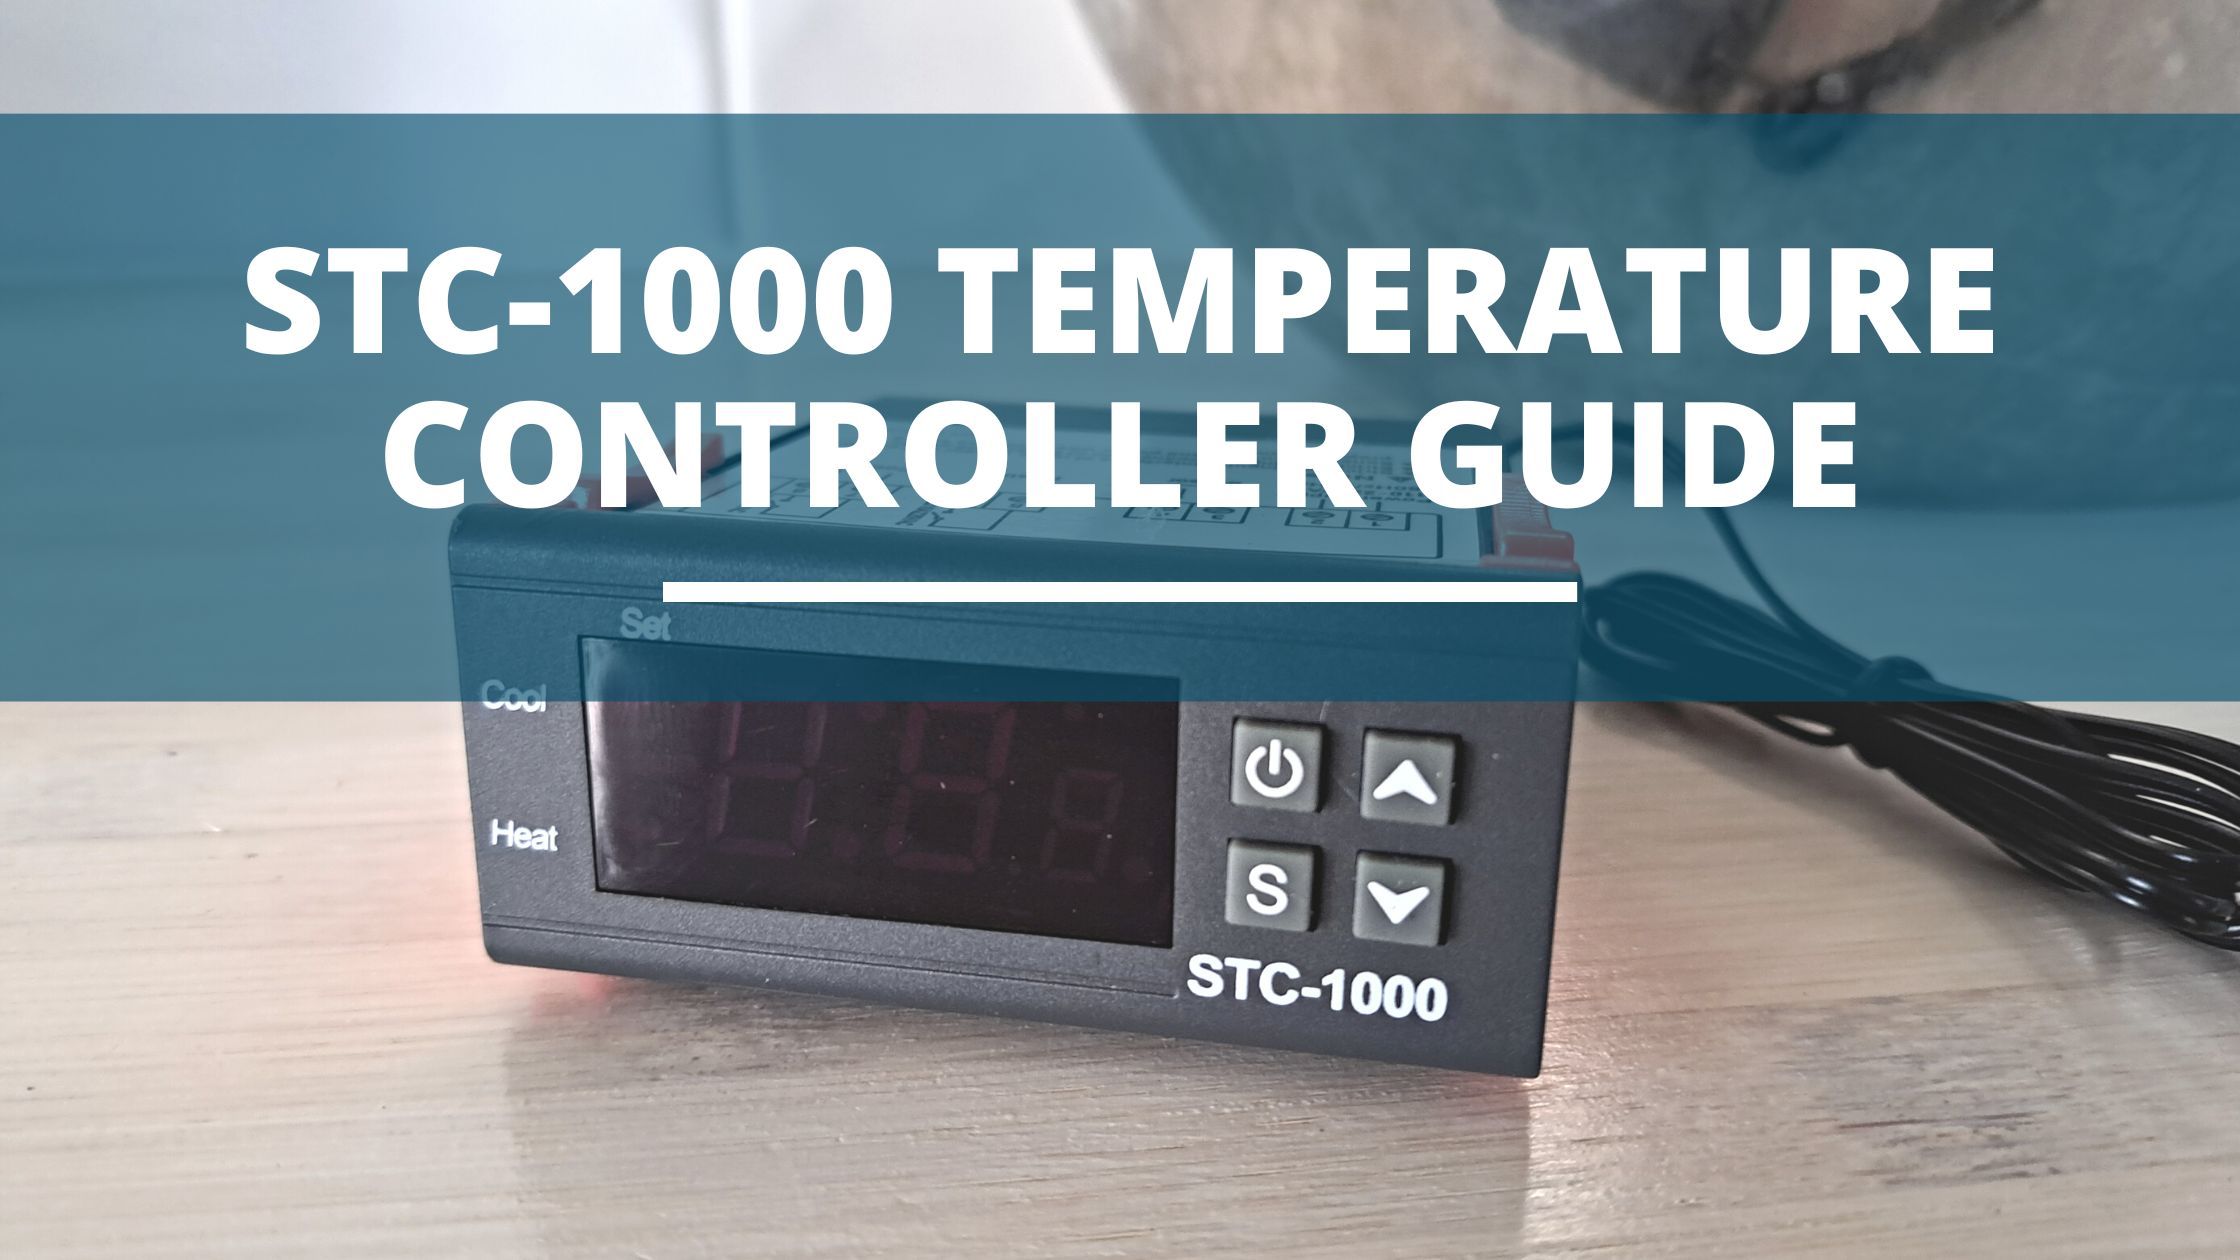
STC-1000 Controller (Complete Setup Guide)
Home brewing requires attention to detail in every step to achieve the desired flavor and quality of the final product. One of the most critical aspects is temperature control.
Proper temperature control ensures your fermenter maintains the ideal fermentation conditions.
One way to encourage such an environment is to use the STC-1000 controller.
To set up the controller, you first have to wire it. You can do this by connecting the device to a few store-bought wires and a project enclosure.
Once you’ve wired the controller, calibrate it. This is a straightforward process that involves immersing the heat probe in ice-cold water until it reaches a stable temperature.
Finally, program it to your preferred temperature value. Doing so ensures your wash or wort stays within the ideal range, so you don’t experience stalled or overactive fermentation.
In this article, we’ll explain exactly how to wire, configure, and calbilrate your STC-1000 controller for precise, consistent, and successful results with every brew.
Table of Contents
What Is The STC1000 Temperature Controller?
The STC-1000 controller is a versatile and inexpensive tool for controlling the temperature in various applications.
Where home brewing is concerned, the device regulates the temperature of your fermenter.

What does the STC-1000 do
The controller has two modes: heating and cooling. The controller’s ability to switch between these modes helps regulate the temperature of your fermenting environment by keeping the temperature within the fermentation vessel stable.
If it’s too hot, the controller will turn on a cooling device. Electrical current will flow to the refrigerator to cool down the fermentation vessel.
Conversely, if it’s too cold, the STC-1000 will turn on your heater or heating pad. This will increase the heat of your fermenter to continue the fermentation process.
Dimensions
The dimensions of the controller are 75mm (L) x 34mm (W) x 85mm (D) / 2.95 inches x 1.34 inches x 3.35 inches.

Voltage
The STC-1000 controller operates on a voltage of 220V to 240 V, which is the typical voltage used globally.
But some models are designed to operate on 110V, which is the standard in the US.
Power ratings
The STC-1000 can handle a maximum current of 10A at 220V and 15A at 110V.
Temperature range
The STC-1000 can measure and control temperatures within a range of -50°C to 99°C (58°F to 210°F) with an accuracy of +/- 0.1°C.
STC-1000 Specifications:
Below are the specifications for the STC-1000 and the popular alternative the KT-1000
| Function | STC-1000 | KT-1000 |
|---|---|---|
| Modes | Heating and Cooling | Heating and Cooling |
| Display | ° C | ° C/°F |
| High temperature alarm limit setting | NO | YES |
| Temperature measuring range | -50 ° C ~ 99 ° C, -55°C ~120°C | -66°F~248°F/ |
| Return difference Value: | 0.3~10.0°C | 0~10°C/0~30°F |
| Resolution | 0.1 ° C | 0.1° C/0.1°F |
| Accuracy | +/- 1° C (-50 ° C ~ 70 ° C) | 0.1° C/0.2°F |
| Power supply | 110-220VAC 50/60Hz,12VDC , 24VDC | 110-220V AC |
| Power Consumpption | <3W | <3W |
| Output Relay | Two Relay Cool 10A/220VAC; Heat 10A/220VAC | Two Relay Cool 10A/220VAC; Heat 10A/220VAC |
| NTC sensor | 1m | 1m |
| Delay start and temperature calibration | Yes | Yes |
| Size | 75mm(L)*34mm(W)*85mm(Depth) | 75mm(L)*34mm(W)*85mm(Depth) |
| Mounting Size | 71(L)*29(W)mm | 71(L)*29(W)mm |
What Can You Do With This Temperature Controller?
The controller allows you to regulate temperature with precision and consistency, which can help improve the quality of your product.
Here’s what you can do with this temperature controller.
- Prevent a stalled fermentation: Too cold a wash can cause yeast inactivity, resulting in a stalled ferment. When the temperature of your wort drops below the ideal temperature, the controller increases the temperature, so it continues fermenting.
- Prevent potential off-flavors: When it’s too hot, the controller switches to cooling mode to regulate the temperature of your fermenter. Too hot a ferment speeds up yeast activity. This vigorous action can produce fusel oils and result in off flavors.
How To Wire The STC-1000
Wiring the STC-1000 can be achieved by connecting a few store-bought loose wires and connectors to the device.
Here are the basics steps to get you started.

You’ll need:
- Project enclosure
- Temperature sensor
- Power plugs
- Main power plug
- Loose wires and connectors
- Socket
Instructions
- Drill four holes at the rear of the enclosure: one small one for the temperature probe, two large ones for temperature and cooling circuits, and a fourth nine for power in.
- Insert the plugs and temperature sensor through the holes.
- Cut out an opening in your enclosure to insert the controller.
- Insert the plugs and temperature sensor through the holes.
- Connect the temperature sensor to numbers 3 and 4 of the connector.
- Split the socket into 3 separate words. Insert them into parts 1, 5, and 7.
- Connect the green power supply and heating and cooling circuit together.

Calibrating Your STC-1000
Calibrating your device ensures it maintains its accuracy and helps produce reliable results.
Below is a simple technique to fine-tune the controller.
You’ll need:
- Cup
- Ice cubes
- Cold water
Instructions:
- Fill the cup with ice. Top it with cold water.
- Dip the heat probe into the ice. The temperature will drop rapidly.
- Wait for the temperature to stabilize.
- Once stable, set the controller at minus that value. For example, if it stabilizes at +0.5, set it off by -0.5.
- Press the “S” button and press the up/down arrows to access the calibration function (F4).
- Press and hold the “S” button and down arrow, until you reach your preferred value (e.g.-5).
- Press the power button to save the value.
- Your controller should read 0.0.
How To Program The STC-1000
The STC-1000 has four functions. The table below breaks these down so you can program the controller according to your preferred function.
| Function | Set Range | Default |
|---|---|---|
| F1: Temperature set value | -50.0 to 99.9℃ | 10.0℃ |
| F2: Difference function set value | 0.3-10.0℃ | 0.5℃ |
| F3: Compressor delay time | 1-10 minutes | 3 minutes |
| F4: Temperature calibration value | 10.0℃ | 0℃ |
- Press and hold the settings (S) button for 3 seconds. F1 will appear on the screen.
- Release the button.
- Use the up/down button arrows to scroll through F1, F2, F3, and F4.
- Once you reach your preferred function, press and hold the “S” Button.
- Change the value using the up and down arrows.
- Once set, release the “S” button.
- Press the power button to save the value.

Where Can I Buy The STC-1000?
You can buy the STC-1000 from various retailers like Amazon and eBay.
Download The STC-1000 Manual
You can download the controller’s manual here.
Frequently Asked Questions
Q. How many watts in STC-1000
The STC-1000 has a power consumption of ≤3 watts. It can switch 10A through it’s internal relay which means it can power a 2300W device at 230V BUT, we’d recommend using an external contactor when switching large loads.
Q. Best alternatives to the STC-1000
Though the STC-10000 is the cheapest controller in the market, there are decent alternatives that won’t cost you an arm and a leg.
A few excellent ones are:
PID
Arduino
Fermostat by Ohmbrew Automations
Brewbit temperature controller
The Black Box temperature controller
Q. What is the temperature range of STC-1000
The STC-1000 has a wide temperature range of -50.0 to 99.9℃.
Conclusion
The STC-1000 controller is a powerful and versatile tool that every home brewer should add to their equipment.
With its precise temperature control capabilities and user-friendly interface, it makes it easier than ever to ferment your favorite drink.
The temperature controller helps regulate the temperature of your fermentation vessel so you don’t wind up with off-flavors or stalled fermentation.
Setting up the device involves connecting it to a few wires and a socket. From here, you calibrate and program it.
This ensures every fermentation you prepare produces consistent results. By following this setup guide, you’ll be well on your way to having a seamless brew day!

