Gin
How To Make Genever (Our DIY Guide)
Genever, commonly referred to as Dutch Gin, has been enjoyed for centuries in Holland. It’s a malt-based spirit blended with unique herbs and spices like juniper berries, coriander, cloves, and licorice – making it botanical-rich.
The traditional version is typically unaged, but modern variations – young genever, tend to be aged in oak casks. Not only are they relatively lighter, but they also impart notes of caramel.
To make genever, you’ll need malt wine or a grain-based neutral spirit (diluted to 35-40% ABV/70-80 proof), juniper berries, cloves, lemon and orange peels, coriander, and licorice. First, you macerate the herbs for at least 24 hours and then run your still. Once the spirit run is complete, dilute the spirit to 42% ABV (84 proof) and let it mature in glass bottles for 48 hours to a week.
Carry on reading this article for a step-by-step guide to making genever.
Table of Contents
What Exactly Is Genever? (The Original Gin?)
Genever is a malted grain spirit. It’s produced in Belgium and Holland, and it’s botanical-rich. It’s sometimes referred to as the “mother of gin” because gin derives its flavor profile from it.
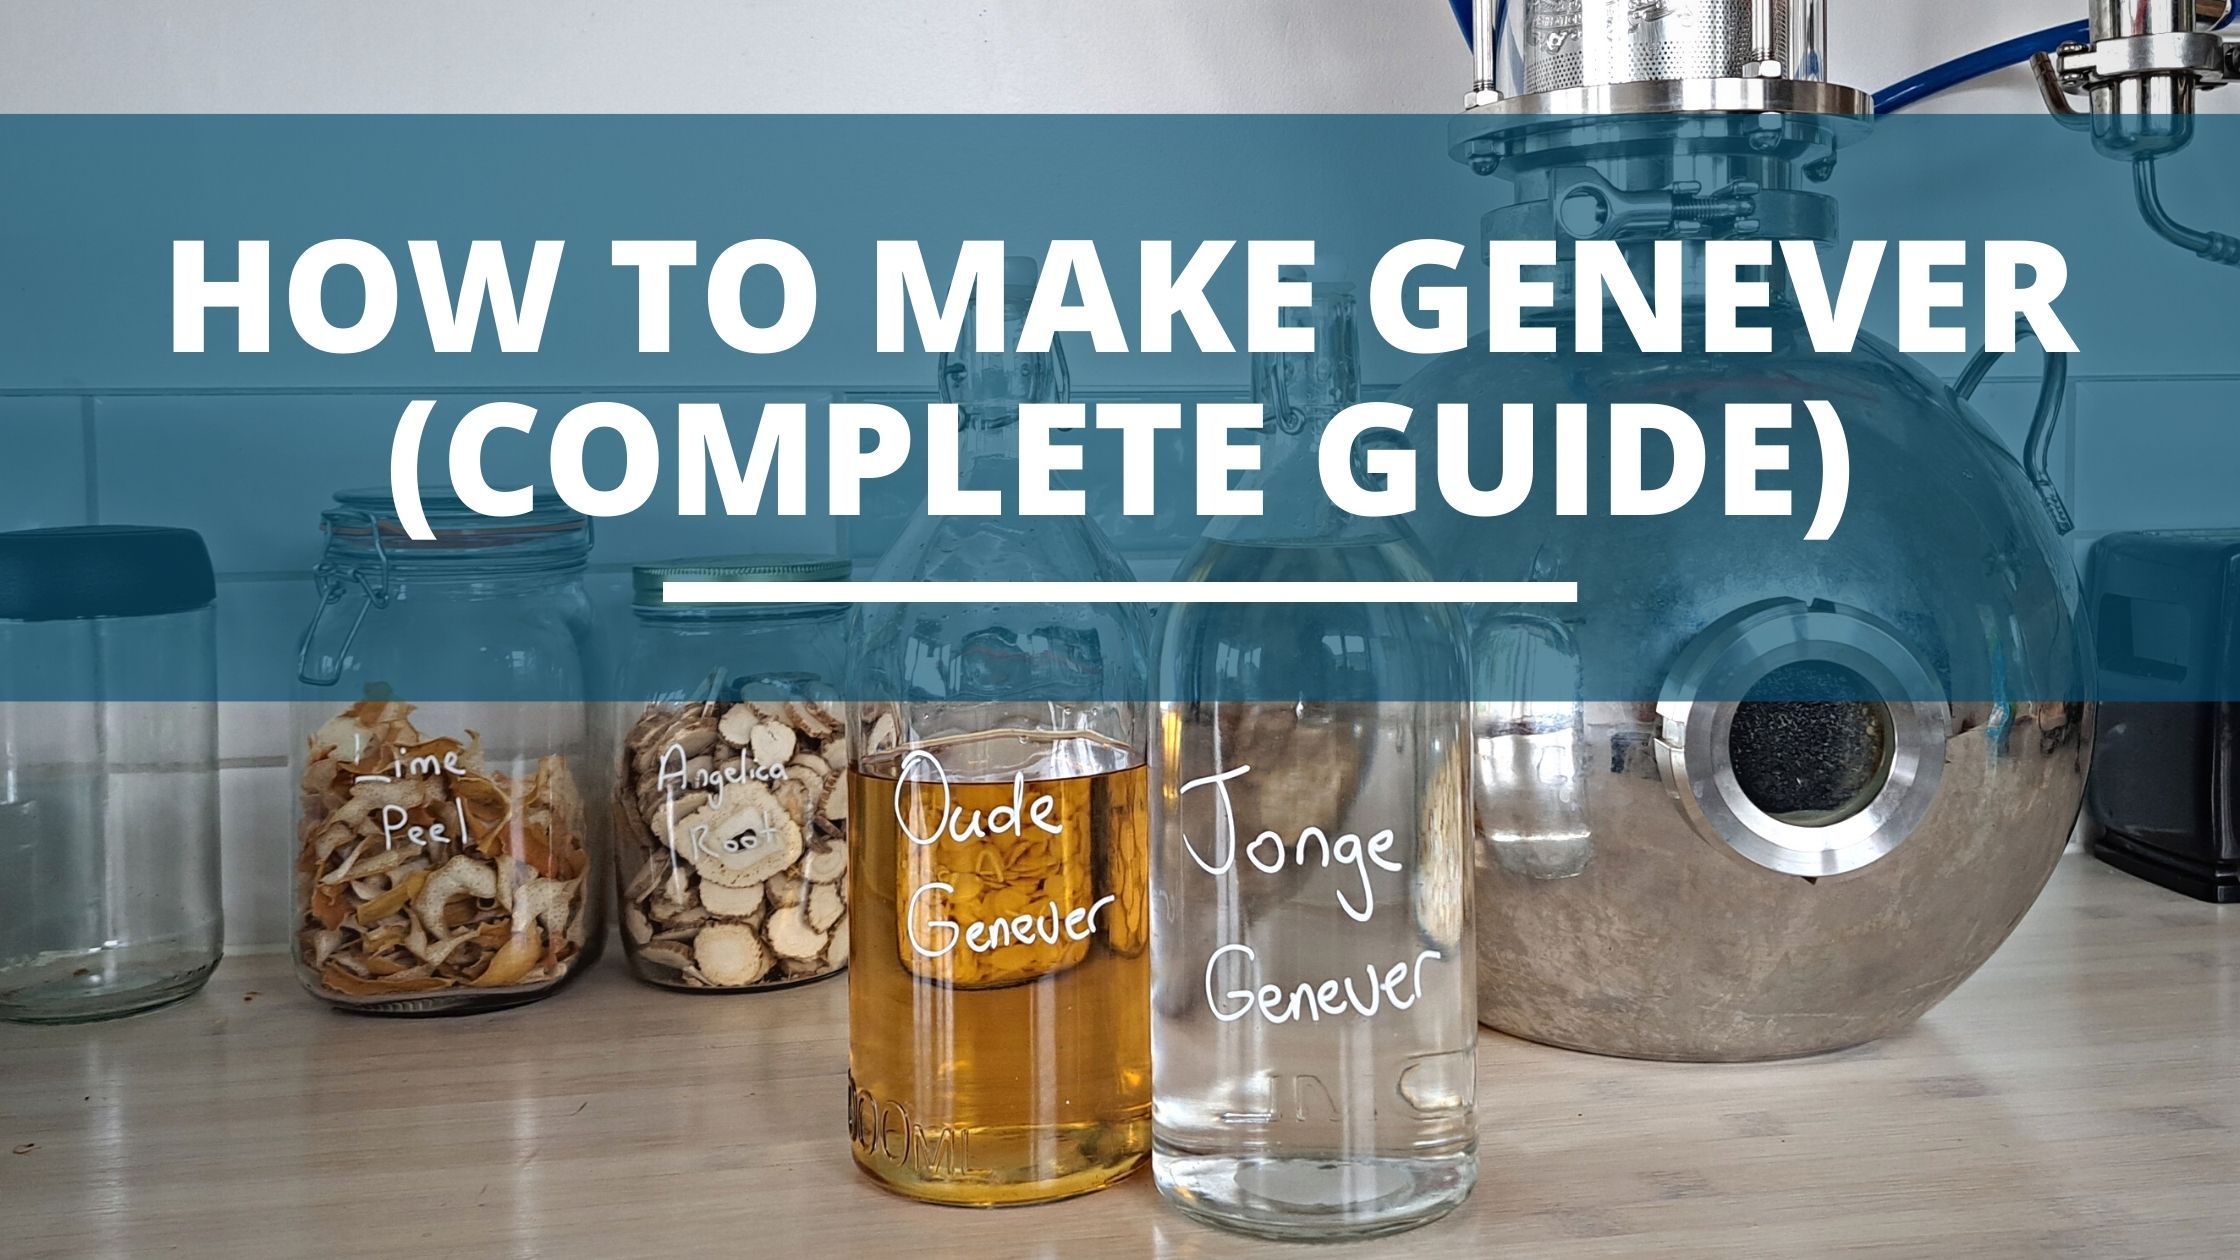
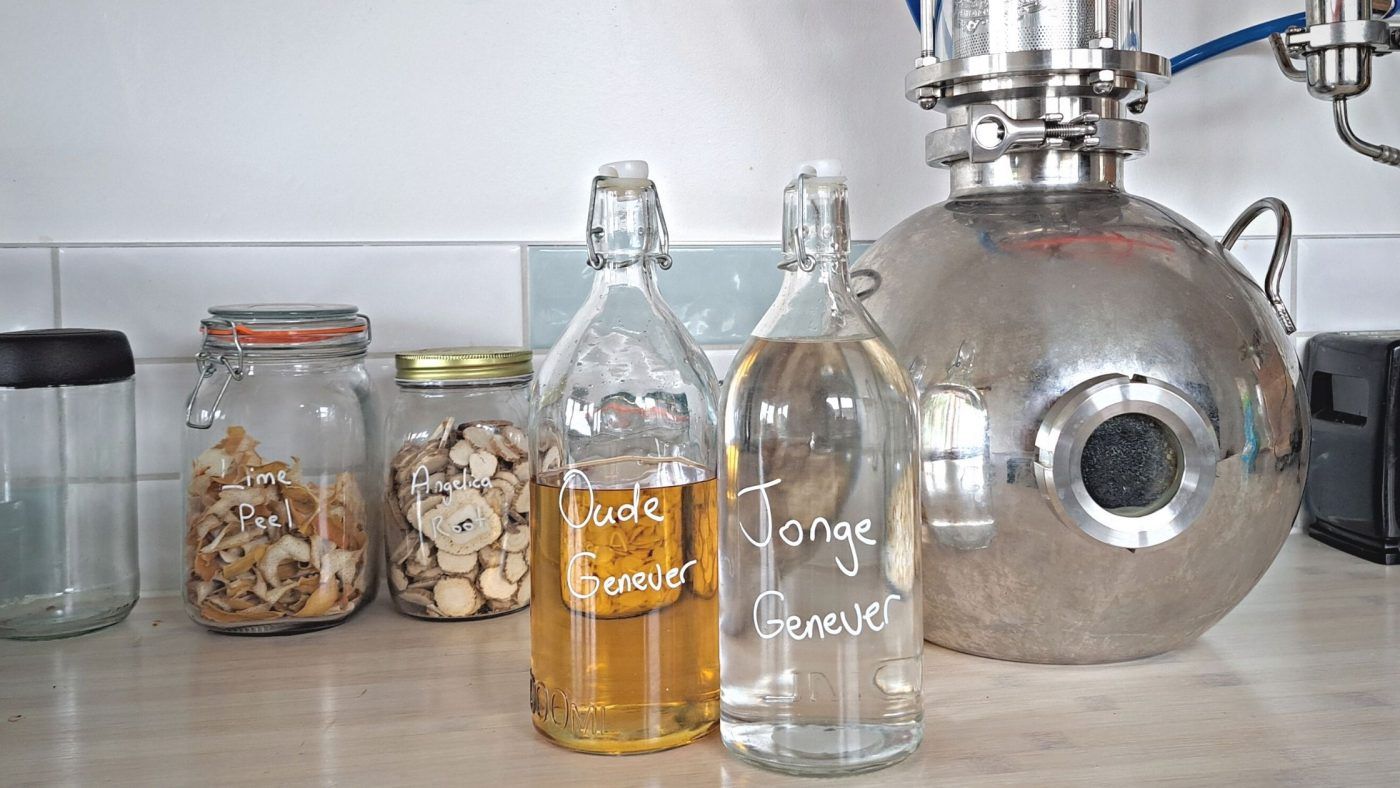
Genever is most commonly unaged, but certain modifications and experimentation gave rise to oak-aged genever – young genever. There are two types of genevers on the market: oude (old) and jonge (young).
- Old genever – maintains the original recipe and technique. It has a smooth and robust flavor.
- Young genever – is light, juniper-forward with undertones of malt wine. Young versions are often aged in oak barrels.
What Is Genever Made Of?
Genever is a grained-based spirit. The mash bill comprises mainly of barley, and sometimes with rye, and corn.
The grains are fermented for at least three days and distilled into a grain vodka similar to when making whiskey
To this, juniper and other botanicals – orange peels, lemon peels, coriander, licorice, and star anise, are added to give it its distinctive flavor.
How Is Genever Different From Gin?
Genever is botanical and grain-laden. It’s made from malted grains – typically rye. The grains are responsible for the intensely spicy and peppery taste.
Gin is flavored vodka. It uses a neutral spirit as a base. To this, distillers add botanicals like juniper, coriander, and licorice. The spirit is re-distilled to extract the flavor compounds of these plants.
Key Differences :
| Genever | Gin | |
|---|---|---|
| Base Alcohol | Grain base alcohol similar to whiskey. Pot distilled to retain flavor. | Neutral Spirit, is flavorless, often industrially produced, and bought into the distillery. |
| Botanicals | Juniper forward, coriander, citrus elements | Similar to genever however typically more botanicals are used and more delicately balanced. |
| Flavoring Method | Genever is usually made through infusion, which means the final product will be colored by the botanicals. | Gin is usually made from maceration or vapor infusion, where the final product is colorless. |
| Aging | Can be unaged or aged. Typically aged in oak barrels like a whiskey for up to 3 years. | Typically unaged and colorless. |
What Makes Genever, Genever
For a variety of spirits to qualify as the original spirit, whiskey, for example, should be produced in a specific area and in a particular way.
The same applies to Genever.
For the spirit to be called genever, it has to be produced in the Netherlands, Belgium, and a few parts of France and Germany. Also, it must contain more than 15% malt spirit and a maximum of 20 g of sugar (if added).
The secret behind the familiar taste lies in dividing the malt wine into four parts. Distillers mix one part with juniper berries and the third part with botanicals. The last part is distilled to 7% ABV (14 proof).
These components are blended to create genever.
Some Must-Try Commercial Genever Brands
There are various genever brands on the market. Though some recipes have been altered to create a lighter version of Dutch gin – young genever, they still contain the same essence as the old version. Here are seven genever brands you must try.
1. Zuidam
A product of the distiller, Zuidam, this brand is produced in the Netherlands. It’s a rye-based genever, and the spirit is triple distilled and aged in oak casks. It has notes of toffee and vanilla with hints of honey.
2. Bobby’s Schiedam Jenever
Bobby’s genever hails from the Netherlands. It’s infused with Indonesian spices – cloves and cinnamon and contains peppery, citrus, and spicy notes.
3. Old Duff
A prevalent brand amongst genever lovers, Old Duff is produced in the Netherlands. It’s made of 53% malt wine and has intense spicy and peppery notes.
4. Bol’s Zee Oude
A genever of Amsterdam, the spirit is flavored with juniper berries and Bramling hops. It has fruity and grainy notes.
5. Filliers
Produced in Belgium, Filliers is aged in American or French oak. The fermented mash bill contains equal parts barley and rye. You’ll often pick up caramel and spicy notes.
6. Wenneker Oude Proever
Wenneker is produced in the Netherlands. It’s typically aged in oak barrels and flavored with juniper berries and citrus. It contains notes of caramel and pepper.
7. De Borgen Holland New Style
De Borgen is a fine example of young genever.
It’s produced in the Netherlands and aged in Oloroso Sherry casks. The spirit derives its flavor from aniseed, lemon peel, nutmeg, and sweet almond.
How To Make Genever (Step-By-Step Guide)
If you’re into producing a good bottle of gin, you’ll most likely enjoy genever. Here’s how to make a young genever.
In this tutorial we’ll be making 4 litres or 1 gal (US) of Genever.
The Easy Way And The Hard Way:
In this guide we’ll go the full month – from selecting grains to use to barrel aging. This will produce and all grain old genver, as close to the traditional ones as we can manage.
BUT
You can also shortcut the process and make a simple young genver by making the following omissions:
- Omit the grain alcohol, and use some neutral, vodka, or Everclear. This will take away some of the character of the spirit, especially the semblance to whiskey, but will make the process much simpler as grain alcohol is time consuming to make.
- Skip the aging process. As discussed earlier, there is young (unaged) and old (aged) genever. If you want to drink your genever right away, or don’t have access to oak/barrels then you can just make the young genever!
You’ll need:
- 8kg of crushed malted barely.
- 1 gallon (4 liters) of neutral spirit or Everclear (diluted to 40% ABV) *That’s 4l AFTER dilution
Botanicals:
- 72 grams juniper berries
- 36 grams coriander seeds
- 4 grams of lemon peel (dried)
- 4 grams of orange peel (dried)
- 4 grams licorice root
- 4 grams cloves
Method Summary:
This is a lengthy process, so let’s break it down into the key steps;
- Step 1: Making The Grain Alcohol
- Step 2: Flavoring With Botanicals
- Step 3: Aging The Genever
Step 1: Making The Grain Alcohol
This is basically identical to making whiskey. We need to mash malted barley to extract the sugar, then ferment it to create a crude beer, which finally we can distill into grain alcohol.
Read More: Our whiskey-making guide goes into a lot more detail about this process, so you can read this to get a better understanding of grains and mashing.
1.1. Selecting the grain:
Choose the type of grain you’d like to use. This can be anything between wheat, barley, rye, corn, or a combination of grains. The type of grain will depend on the flavor and aroma you’re going for.
Learn More: In this article, we take a look at the best grains for making whiskey which also applies to genever making
1.2. Crushing the grains
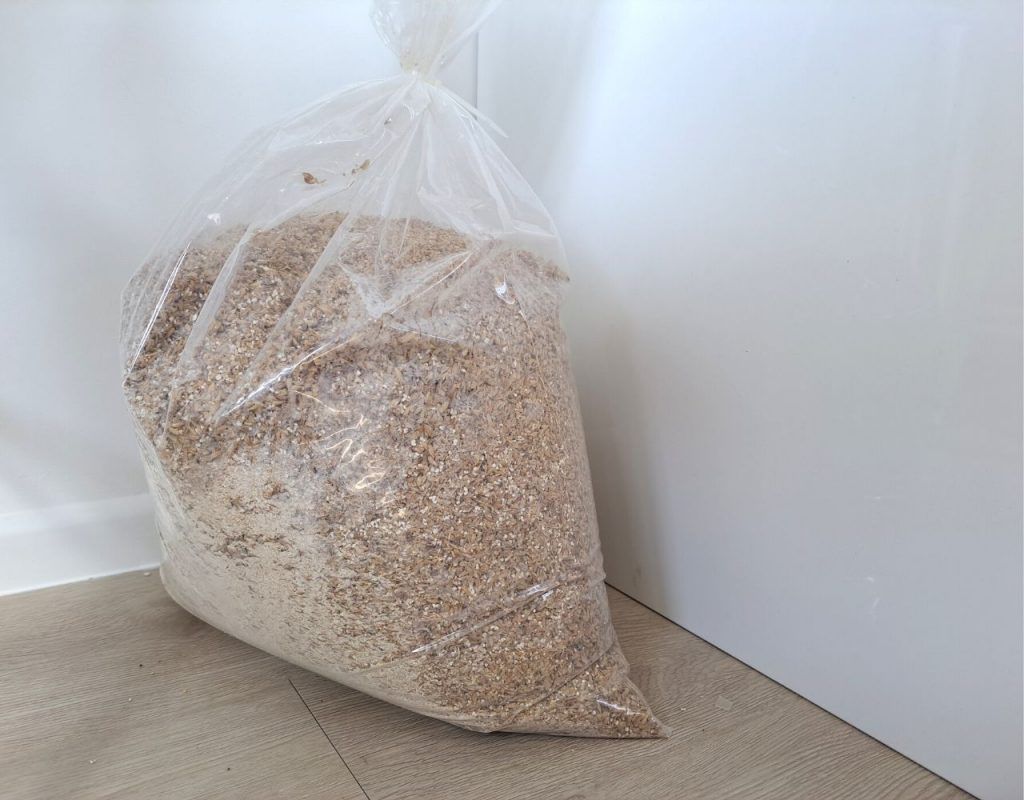
Using the grain grinder, crush the grains into a coarse state – just enough to break the grains open.
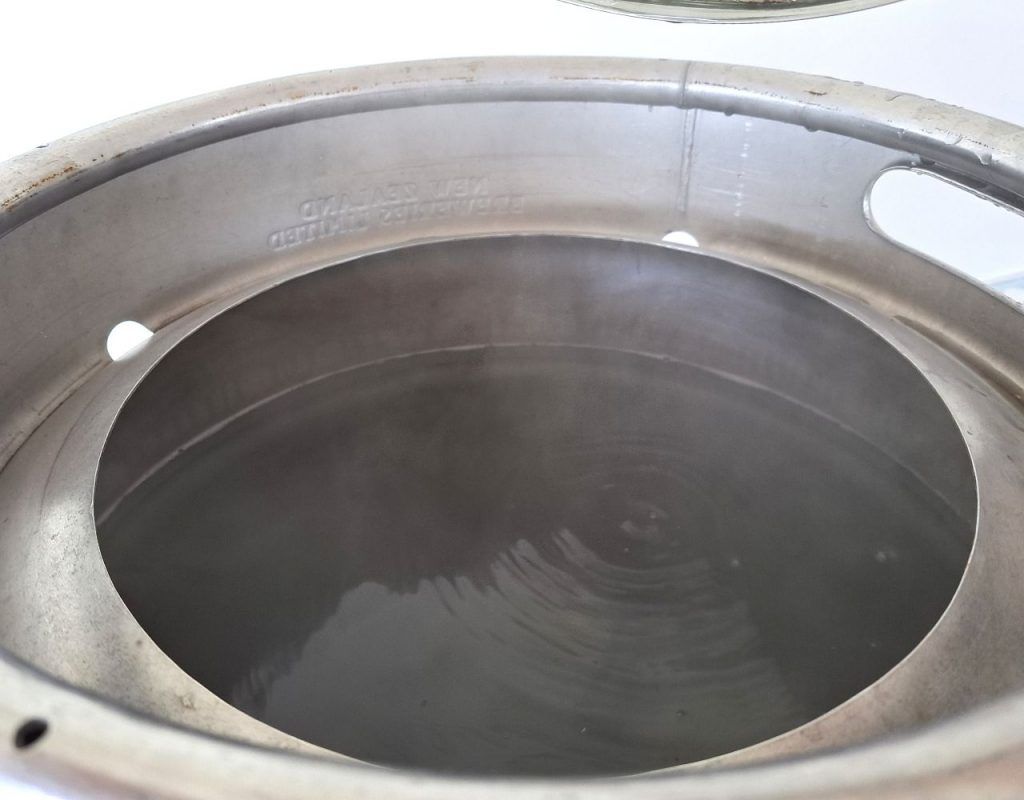
1.3. Heating the strike water
Now we need to prepare the hot water for the mash.
We want our mash to sit at around 65C to 68C to allow for the best enzymatic conversion, so we need to make our strike water a little hotter to allow for the cooling down that will occur from the mass of room temperature grain.
1.4. Mashing the grains
In this process, we add the hot water to the grains and let them sit to allow the starches to convert into sugar.
Read more: If you want to know more, check out this article which explains what amylase is and how it converts starch in the mash process.
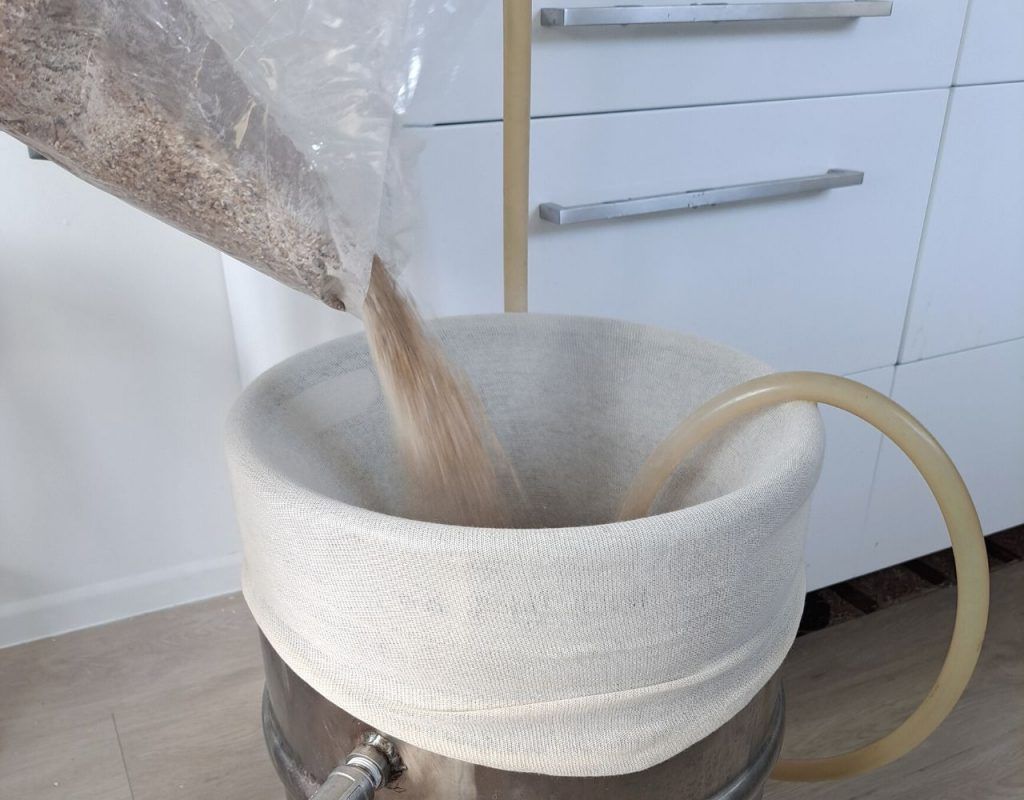
- Use a pot with mesh bottom to strain the grain, or do what I’ve done and find a large muslin bag that can fit the pot and hold all your grain.
- Pour your grains into the pot or bag.
- Add the strike water (from step 4) on top of the grains. Stirring vigorously to make sure there are no dough-balls.
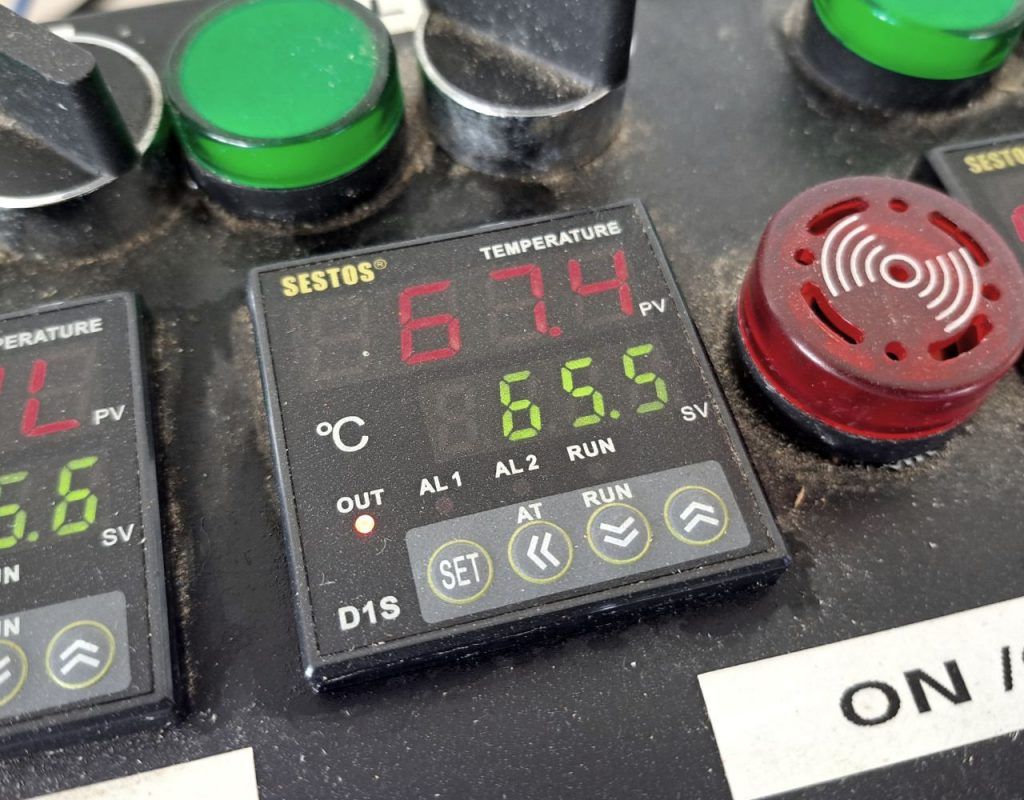
- Check the temperature and try to get as close to 67℃ as possible (65℃-68℃ is fine)
- Put on the lid and let the contents sit for 60 minutes to 90 minutes. stir occasionally.
1.5. Prepare your fermenter
Clean and sanitise your fermenter..
..then sanitize it again to make sure!
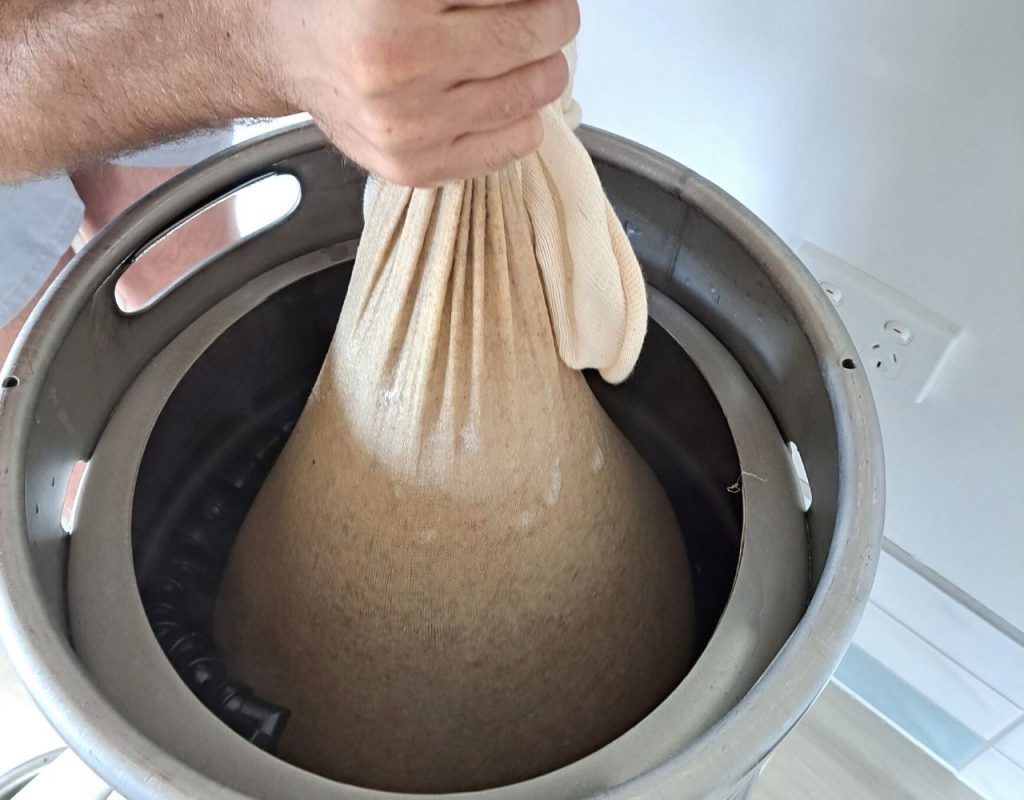
7. Mash-out and sparge
TIP: To speed up the cooling process, you can make a cold bath in your kitchen sink and insert the pot. Continuously check the temperature so it doesn’t go below 25℃ (77℉).
8. Checking The Gravity
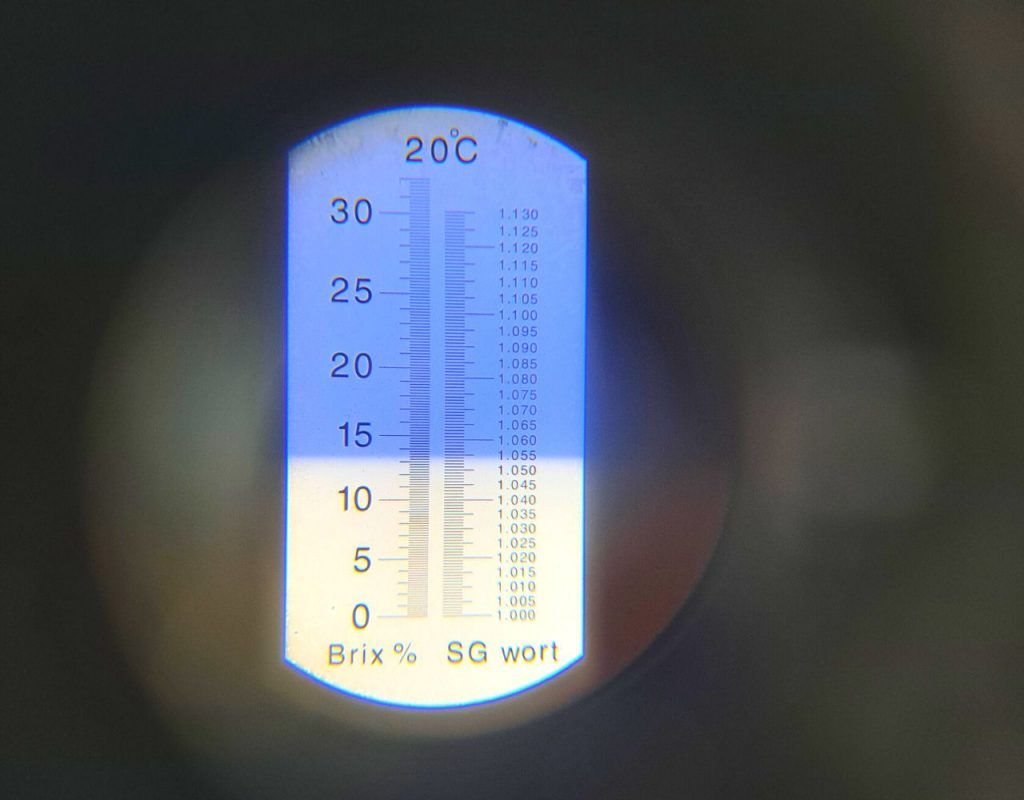
Before we add the yeast we need to check what the gravity of our wash is. This will tell us how much alcohol we’re going to produce!
Note: It’s good to do this multiple times throughout the mash process (too see if anything has gone wrong) but to keep things simple, we’re going to check this at the end.
To do this, you need either a refractometer or a hydrometer.
I’ve used a refractometer here which shows we have a starting gravity (SG) of around 1.055. This will probably result in an alcohol percentage of around 6% as long as our yeast attenuates properly.
9. Making a yeast starter
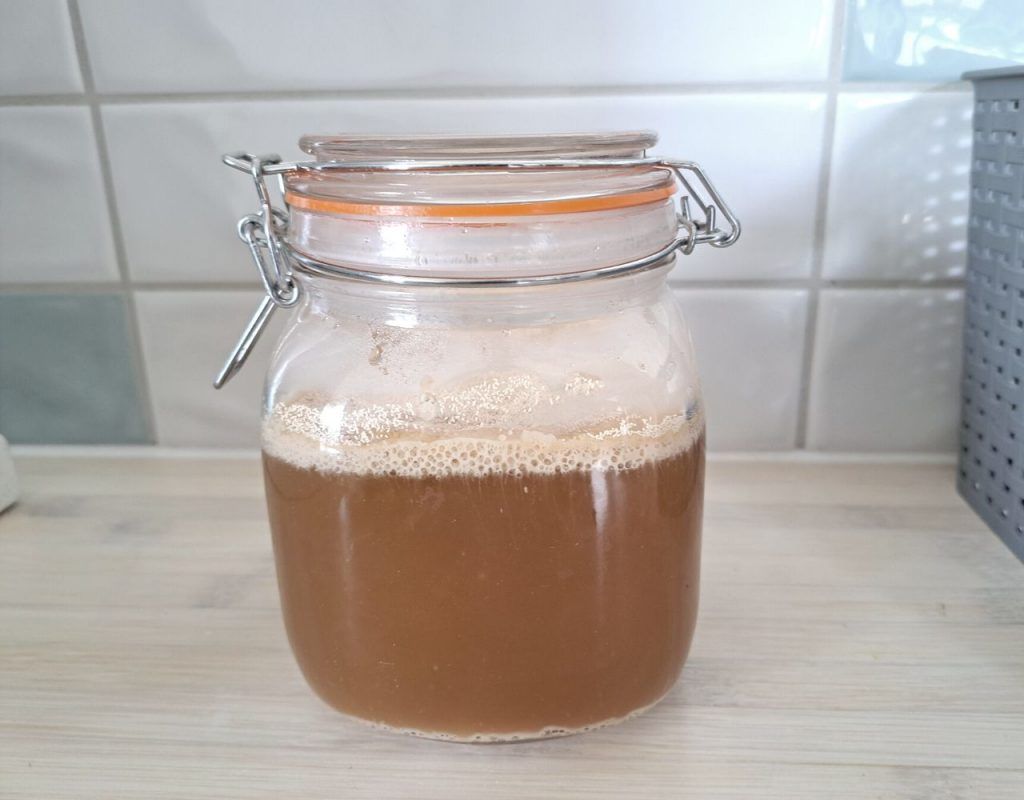
This step isn’t 100% necessary, but I always do this because it’s so easy and guaranteed I get a healthy and vigorous fermentation.
A yeast starter allows the yeast to propagate on a small scale so you get a larger number of yeast cells by the time you add them into your main wash.
Take a small flash or mason jar and decant off a small about of your main wash.
Tip: You can also prepare this the night before using some malt extract or sugar – but it’s going to take 12hrs for my fermenter to drop to pitching temperature, so I’m going to keep things simple and use the same sweet mash.
Add your yeast and yeast nutrients. I’m using some US05 ale yeast because I’m all out of my usual whiskey yeast, DistillaMax MW.
Read More: This article explains the best yeasts for making whiskey, and this article teaches you everything you need to know about yeast nutrients!
10. Fermenting the wash/wort
Depending on the temperature in your environment, it can take up to 15 days for the wash to ferment. Follow these steps to ferment your wash.
- Pour the yeast or yeast starter into the fermenter.
- Place the fermenter in a room that has temperatures of 18-25℃ (64-77℉). Place an airlock on your fermenter to monitor the fermentation process and prevent any bacteria getting in.
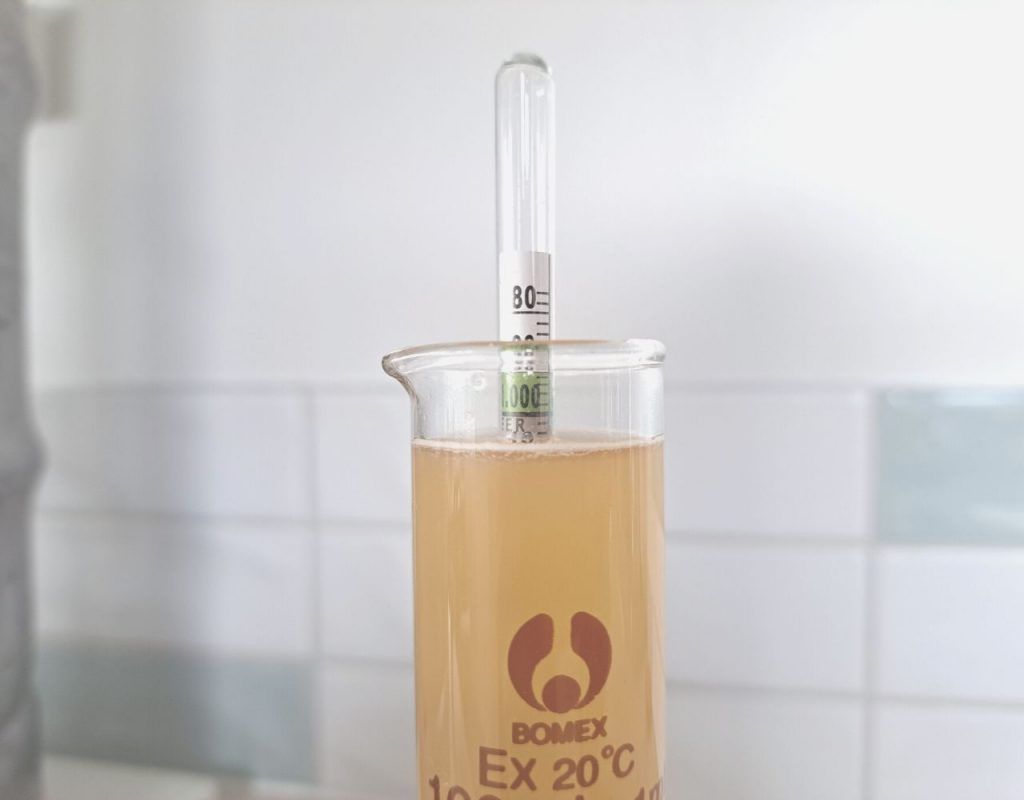
- When the airlock has stopped bubbling, you can take a gravity reading using a hydrometer. If it reads around or below 1.000, then it’s ready to hit the still. But before that, let’s clarify the wash.
11. Clarifying the wash
Clarifying is a process that involves removing any spent grains which might scorch during distillation.
Here’s how to clarify your wash.
- First, take the fermenter and place it in a fridge overnight. This is called cold-crashing and will cause the yeast and any other particulates to clump together and fall out of solution.
- Then filter the wash by using a clean bucket and place the cheesecloth or sieve on top.
- Pour the wash into the sieve and allow all the liquid to filter through.
- Set the spent grains aside and proceed to perform a stripping run.
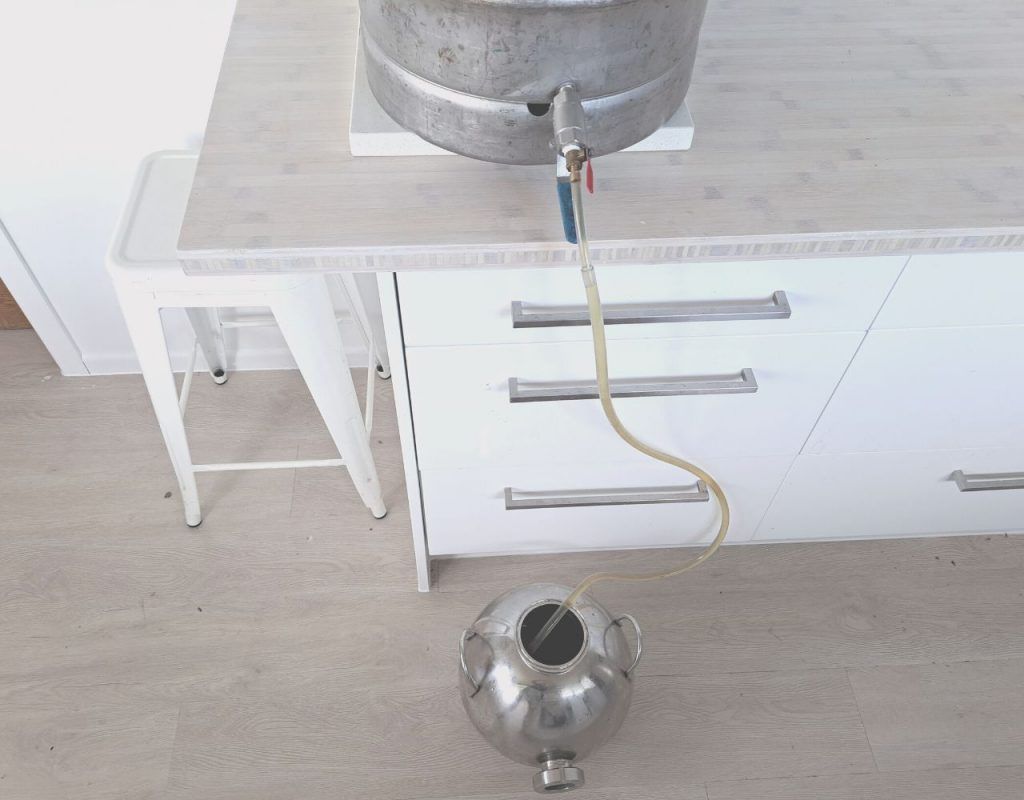
1.11. Stripping the wash
Here’s the problem: We now have 40L of weak beer, at about 5% ABV. This won’t even fit in your still, and needs clearing up before we start agonizing over the cuts we want to make.
Solution: A stripping run!
For this distillation process, you’ll run your still fast at the highest temperature. Here’s how to perform a stripping run.
- Put your wash in the still.
- Turn up the heat on your still to the max.
- Start running cooling water to the condenser before any vapor is produced.
- When the still reaches its highest temperature point, start collecting your distillate.
- Keep collecting the distillate until the temperature of your still reaches 207°F (97℃).
- Turn off the heat and allow the still to cool completely.
Read More: This article takes you through the details of a stripping run, what it is, and how to perform one.
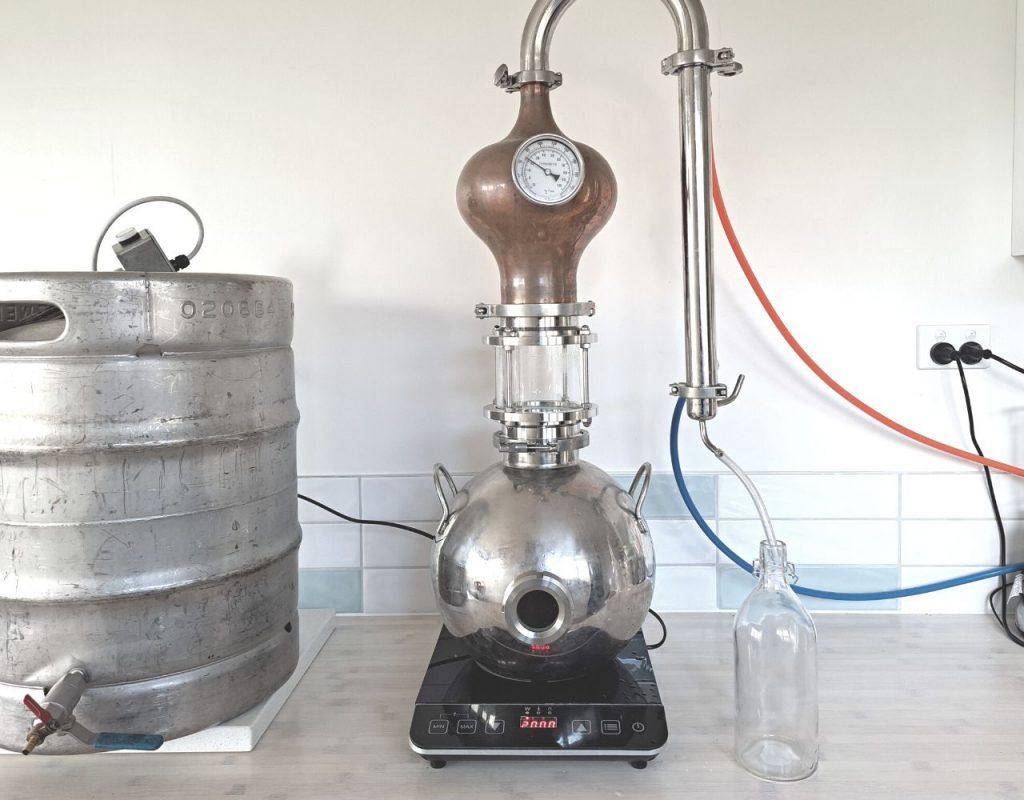
Step 2: Flavoring With Botanicals
- Pour 1 liter of the spirit into a glass jar.
- Add the botanicals to the container.
- Seal and let the mixture macerate for 12- 24 hours.
- Place everything into your boiler (including the remaining spirit).
- Slowly run your still.
- Collect up to 5 liters (1 ½ gallons) of the distillate. Any remaining alcohol will have undesired flavors and a harsh licorice taste.
- Dilute the alcohol to 42% ABV.
- Transfer to glass bottles.
- Let the alcohol sit for 48 hours to a week. Doing so allows the oils and alcohol to marry to create a balanced spirit.
Step 3: Aging The Genever
Finally, it’s time to age. If making young genever, we can stop here and bottle straight away, but if making old genever we need to put it on oak for a few months to a few years to let the flavors evolve and the color from the barrel come out.

Summary
Making genever can be a fun and rewarding experience. Once you have the basics of creating the spirit, you can blend your favorite herbs and spices to concoct your unique Dutch gin.
Not only will you have a bottle readily available, but you’ll also impress your genever-loving family and friends.
Related Posts
How To Make Gin – A Complete Guide
Making gin is easy and fun. You have a myriad of botanicals and techniques at{...}
Fat Washed Gin (Try This Recipe!)
There are several creative ways to flavor your gin. From maceration and infusions to compound{...}
What’s The Difference Between A Dry Gin And A Normal Gin?
Whether you enjoy drinking gin, you work as a bartender, or you want to make{...}
The 7 Best Alcohol-Free Gins (In 2023)
Are you looking to explore the world of non-alcoholic gin? Look no further than our{...}

